

By Robert 'kylwell' Merrill - images & text © 2004
|
First I'd like to reiterate what a fine looking kit this is, but if you want a more in-depth look check out John Lester's in-box preview here on Starship Modeler. The kit looks like it goes together fairly standard for an aircraft. I though the fine panel lines would pose a bit on an issue but the fit of the kit is so nice that little re-scribing was necessary. The one thing that is going to be a pill is my wish to pre-shade the model. |
|
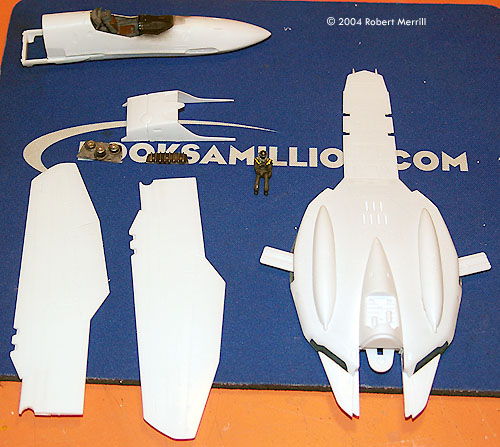
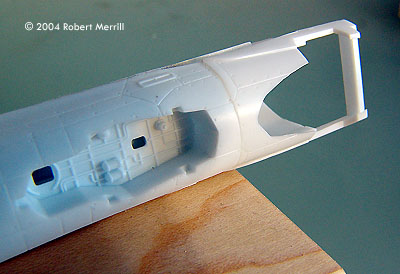
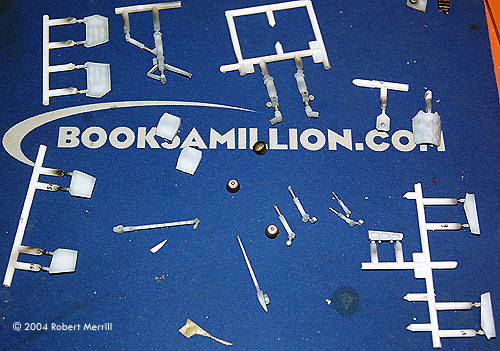
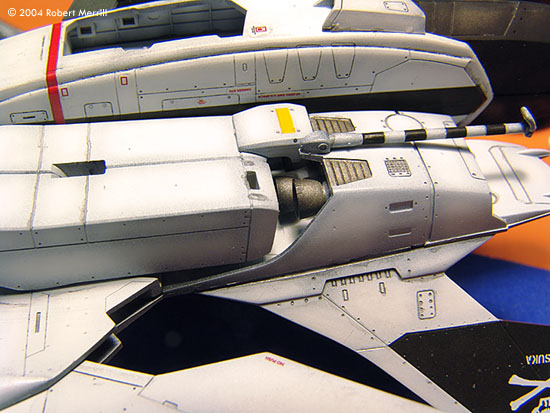
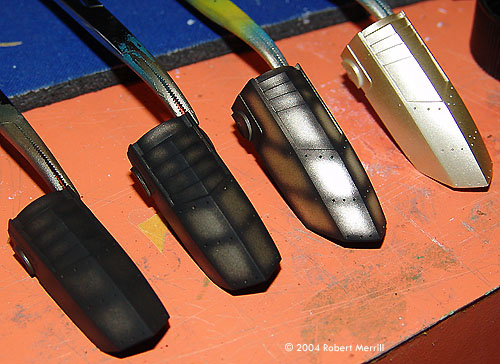
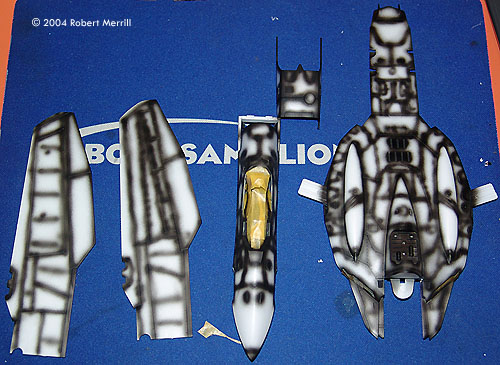
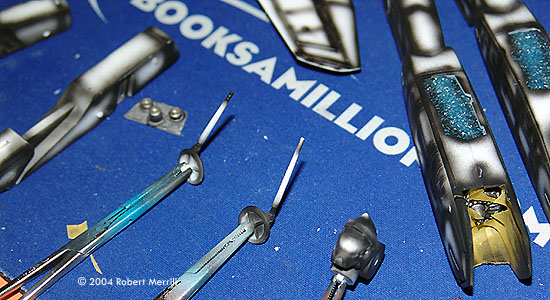
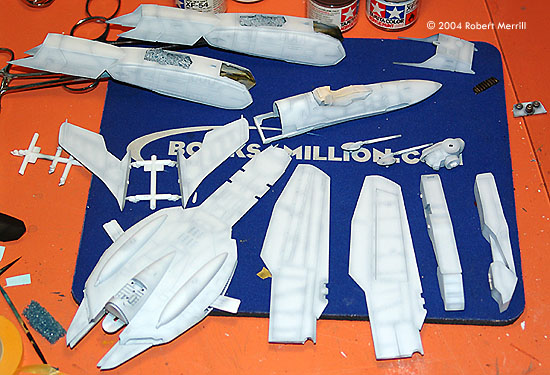
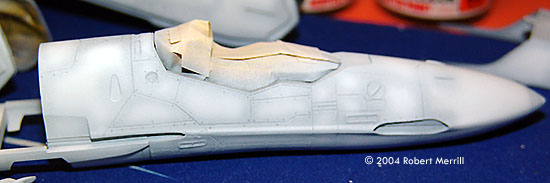
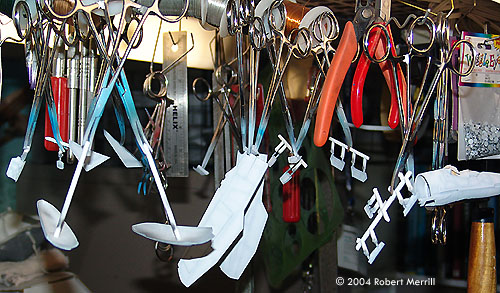
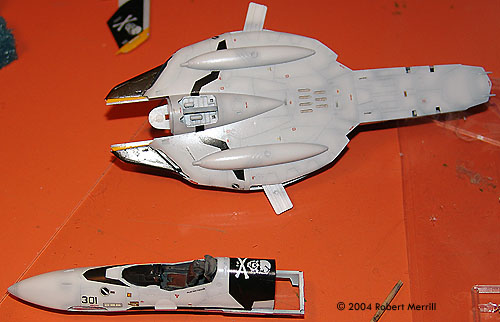
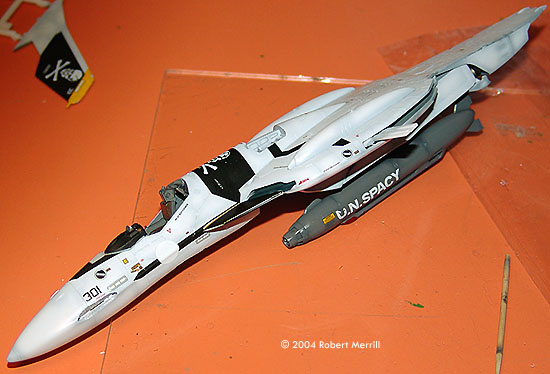
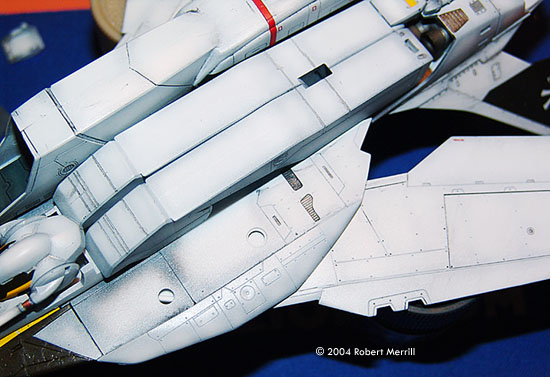
Image: In the beginning, there were parts .... Image: Major subassemblies started Image: There's a step at the nose to fix Image: Instrument panel, ready for insertion Image: Pilot in place Image: Detail parts Image: Such lovely thruster detail .... Image: More detail barely seen upon completion Image: Masking Image: Post-shading the exhausts (base color at right) Image: Pre-shading the sub-assemblies ... Image: As well as the smaller parts Image: Next, the base color is applied Image: Closer look Image: Drying rack Image: Starting in on the decals Image: There are a lot of 'em Image: It might have been better to mask and paint these areas Image: Most presented no problems though Image: Fit of the main fuselage assemblies is excellent Image: To wash or not to wash? Image: Tis better to accentuate the panel detail with the pastel wash, methinks ... Image: Bringing it all together Image: Adding all the small, breakable things completes the model Image: Nose gear detail Image: Rear view Image: Main gear detail Image: Right side detail Image: Top view Image: Underneath Image: Detail underneath |
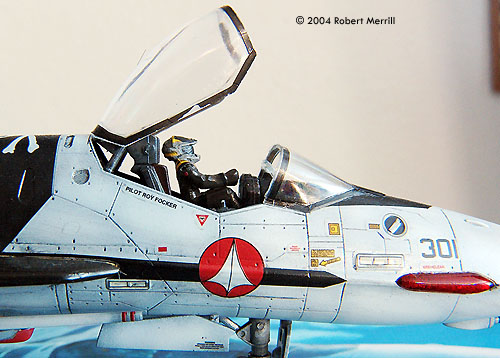
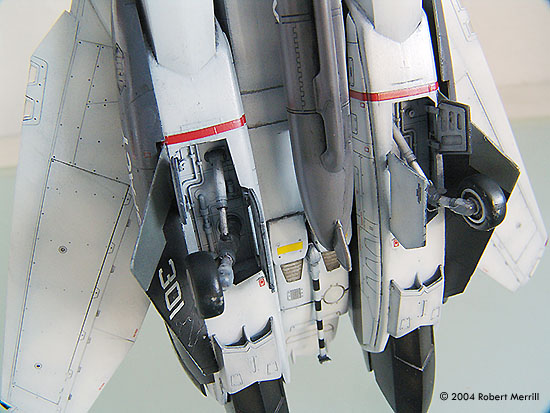
This would mean breaking the build down to modules to better facilitate the painting, but as it turns out the kit is made to facilitate this kind of a build. I'm going to try to go over this kit assembly step by step, where I deviate from the instructions and why. Bear with me, I'm new at this. Assembly Starting with the cockpit & figure (steps 1 through 5) you'll find that the tiny little 1:72 figure has no less than 7 decals; helmet crest, helmet visor, yellow helmet arrow, two paldron decals and two shoulder insignia. I never was able to get the visor decal to snug down but the rest went on without much of an issue. The cockpit is an easy build, parts went together easily and the dash decal snugged down perfectly. You will need to choose whether you're posing the canopy up or down when assembling the cockpit. If you want it with the canopy down you'll need to not install part #E1. I left off the HUD panel & the canopy until after I was done painting. The three part front fuselage had some minor fit issues where the small lower aft section mated to the lower forward piece. A little pushing & prodding brought it into alignment. I left off the landing gear and bay doors until final assembly to reduce damage to them. The landing gear has a catapult hook that it quite fragile. Don't worry too much about detailing the exhaust nozzles (parts K14 & K15) in step 6, as once everything is in place they're fairly well concealed. I, of course, gave them a wonderful 3 color paint job that will never be seen by anyone but me (it sometimes pays to look ahead in the instructions before you go overboard painting something that will never be seen again), I also left off the cable hook to avoid breaking it. In step 7 I'd advise gluing on parts A13 & A12 to A1 before closing it up, as that makes it easier to put some pressure on the parts for a smooth fit. You may also want to file the tiny blade antennas (K16) to a more airfoil shape as they're a bit on the blocky side. I left off the wings & tail surfaces in step 9 to ease decaling later on. Same went for the lower strakes in step 14. The leg/engine assemblies when together quite nicely except a poor fit between the main body of the engines & the top insert. I would also like to argue for a more positive connection between the leg/jet and the lower strakes. What you get is two incredibly tiny bumps that fit into equally small dimples in the leg/jet body. Problem is the strakes are so thin that there was no way I was going to attempt drilling a hole to pin it. What I did to figure the angle was to install the landing gear so that I knew how far I had to tilt the strakes out to clear the landing gear. Painting and Decals I pre-shaded the aircraft using black for the panel lines and a very light gray as the final color. The exhaust nozzles called for "Burnt Iron" but not having that I tried a "post shading" technique using Titanium Gold as the base color then going over it with flat black. You can see the steps I used here. In step 16 you're supposed to perform the final assembly, engines, arms, etc. Unfortunately if you do this it makes applying some of the decals impossible. So I put off final assembly until the decaling was done & the wash applied. After all the sub-assemblies were done, then came the gloss coat & decals. If decals scare you then the sheet that come with the VF-0S will probably cause you to curl up into the fetal position. Well, as somebody who has some difficulty with decals I'm here to tell you it's not all that bad. The decals fit is superb, which is quite frankly amazing given the complexities of the shapes they wrap around. First, as I've stated previously, don't fully assemble the model. Some of the decals have to be put on before the model is assembled (like the gray panels on top of the legs/engines), while other will be much easier to put on if you can lay them flat (like the wings and tail fins). Secondly, use some decal setting solution (like MicroSet & MicroSol); this will greatly ease getting the decals to lay flat on the model. And thirdly, don't over soak the decals. The best time is when the decal is just starting to be able to be moved on the sheet. If you soak it too long the film becomes very fragile and will break. Lastly, take your time, don't rush it. Weathering and Final Assembly Then, it was wash time. I tried something new here too; a pastel wash. I scraped some dark gray pastel chalk into water and smear the resulting sludge on the model, following the panel lines. Then a bit of water & some light rubbing and bampf! Beautifully washed lines. And best of all if doesn't look right, a little water will take it right off. My thanks to the guys on the Starship Modeler forum that suggested this. Works great. |
![[Right side]](rm_vf0s_!right.jpg)
|
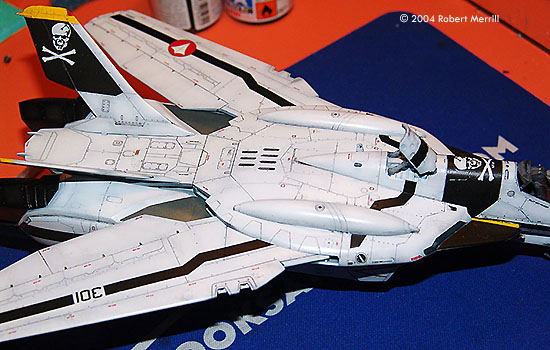
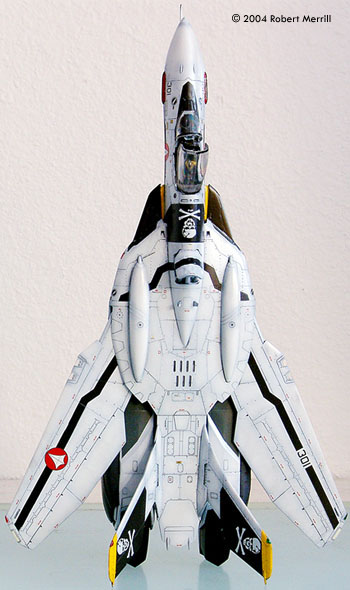
After the wash, I assembled everything (as in step 16, including the landing gear and bay doors that I'd left off earlier) but the clear parts, as I didn't want the semi-gloss coat to haze the parts. Then came a coat of semi-gloss (satin) clear, followed by the placement of all the clear items like the wing lights & canopy. A light dusting of white pastel to bring out the highlights and there you have it. A Macross Zero VF-0S. Sweet, eh? |
![]()
This page copyright © 2004 Starship Modeler™. First posted on 24 November 2004.
![[Click to enlarge]](rm_vf0s_!frontwide.jpg)
![[Click to enlarge]](rm_vf0s_!cockpitfront.jpg)
![[Click to enlarge]](rm_vf0s_!rearwide.jpg)