
|
By Larry Strickland - text © 2003 Images by John Lester © 2003
|
![[Click to enlarge]](ls_seaview05.JPG) First Impressions I was pretty happy to hear that Polar Lights was finally going to release a new version of the Seaview from the old '60's TV show "Voyage to the Bottom of the Sea". I first built this kit when I was about 12 years old, now that I'm pushing 40 I've wanted to build another and hopefully better Seaview. |
|
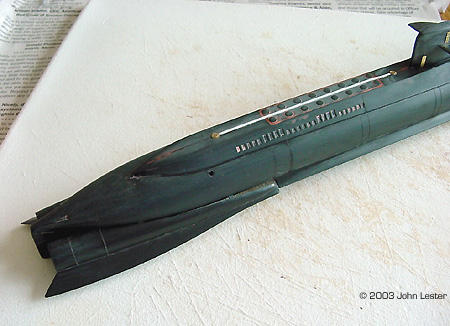
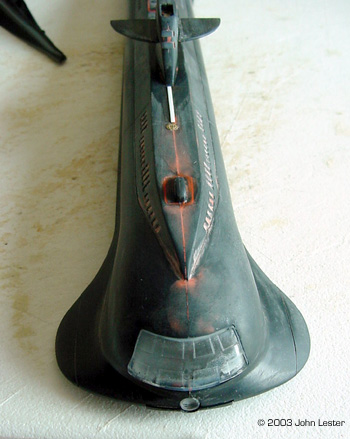
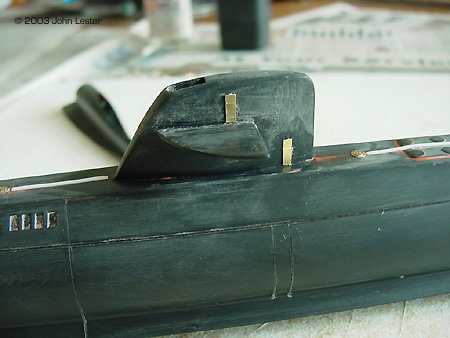
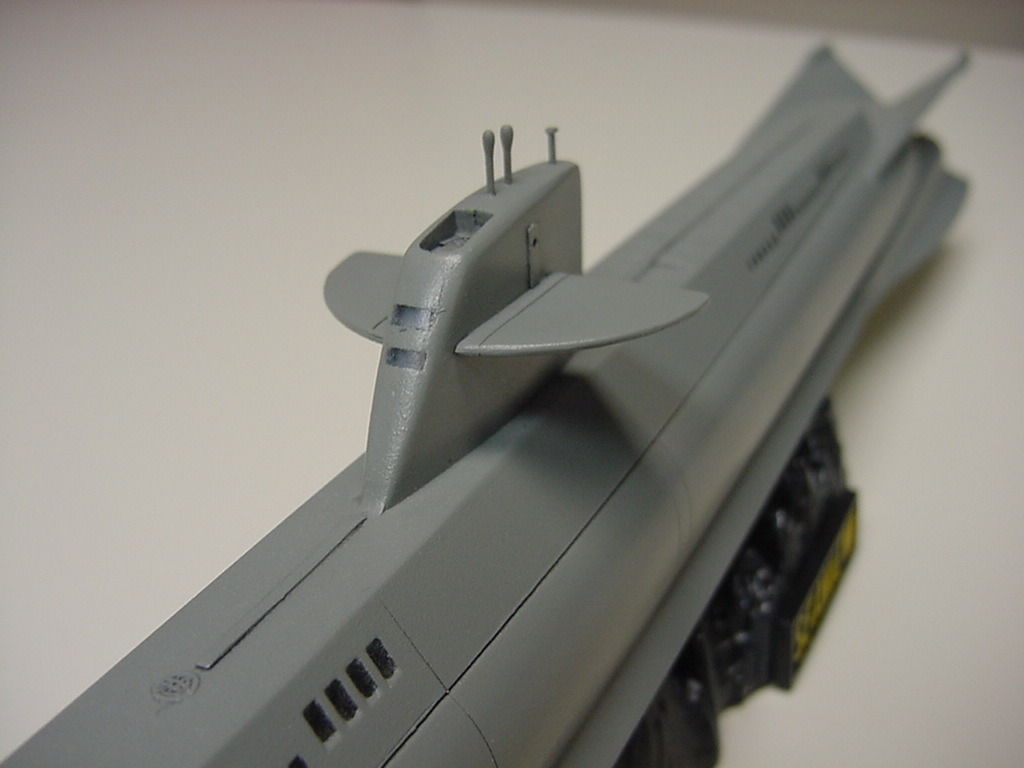
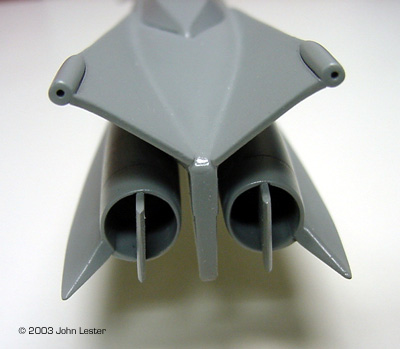
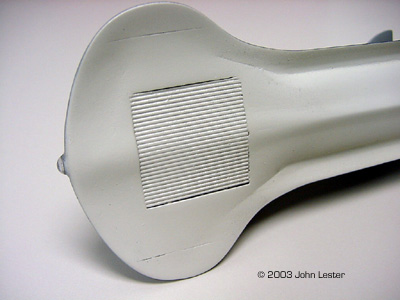
Image: Engraving & putty, aft half Image: Bow, under construction Image: New doors on the sail from scrap PE Image: Completed sail Image: Stern Image: New Flying Sub hatch
|
Before Polar Lights came up with their version of this kit, the only styrene kit that was available was the original Aurora Seaview - a kit that sells for Approx. $200 on the collector's market. Construction Starting with the instructions, which are pretty typical for Polar Lights, assembly directions consist of a two pages (the same page in French and English on a big fold-out sheet) of exploded diagrams, written instruction, and very vague suggestions for painting. I next did a little research on the internet to fill in some of the details which are so glaringly absent from this kit. Next, I made a list of major flaws that I felt I could fix with a little bit of extra time. Here is a list of simple improvements to a fairly simple kit. Problems / Solutions
Two other inaccuracies I did not address. The hull forward of the sail is actually shorter than it should be. Another member in our club showed how he was correcting this, but I decided the effort was far greater than the results would be worth - for me. Also, the pattern of windows (vents?) just aft of the large "picture window" on the bow is incorrect. I could not see a way to fix this without major surgery, and that was also more time and effort than I wanted to invest in the project. Further Assembly The rest of the kit went together fairly well. The only major problem was the area around the main observation window, and spot light. This took 2 to 3 applications of super glue and glazing putty to fix. I ended up replacing the spotlight itself with the dome of a clear LED. The observation window piece was painted black and the frames separating the window panes was cut from decal sheet painted the upper hull color. Painting The instructions are very vague on the colors for the Seaview. The main color of the ship is given simply as "blue". After doing a little research on the internet, it appears certain that the filming miniatures for both the movie and TV show were painted with a darker gray on top of the sub and a light gray on the bottom of the sub. |
|
I read on the internet that this was done to imitate the coloring of a shark- gray on top and white on the bottom. After looking at 6-8 build-ups from other modelers, I chose to go with Dark Ghost Gray for the top and Camouflage Gray on the bottom - both in the Testors Model Master range. I was pleased with the results using these colors. Since I chose to use acrylic paint, I sealed with two misting coats of Future Floor Wax. Due to the small scale of this model, I chose not to do any washes or weathering.
Conclusions This is a fairly nice kit. The main negatives about this kit are lack of surface detail even for this scale, and areas with poor fit. Positives include: quick build-up, very inexpensive, and fairly easy to add detail and increase accuracy if you so choose. As you can see, the positives definitely outweigh the negatives. I would highly recommend this kit, especially if you're interested in the subject matter. |
![]()
This page copyright © 2002 Starship Modeler™. Last updated on 20 January 2003.
![[Click to enlarge]](ls_seaview01F.JPG)
![[Click to enlarge]](ls_seaview02F.JPG)
![[Click to enlarge]](ls_seaview06F.JPG)
![[Click to enlarge]](ls_seaview.JPG)
![[Click to enlarge]](ls_seaview09F.JPG)
![[Click to enlarge]](ls_seaview04F.JPG)