
By John Lester - images & text © 2010
|
![[Please click to enlarge]](jl_daedalus_stand_2635.jpg) We did not subscribe to Showtime, where Stargate: SG-1 first aired, so I did not catch the show until it started running in syndication some time after Season 3. |
|
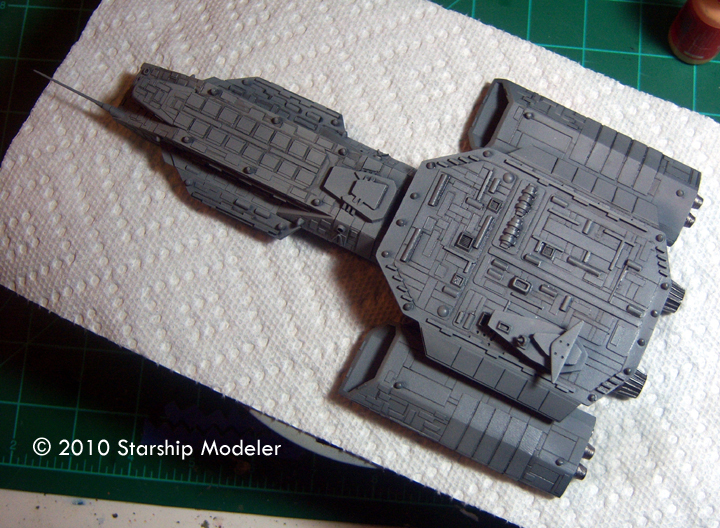
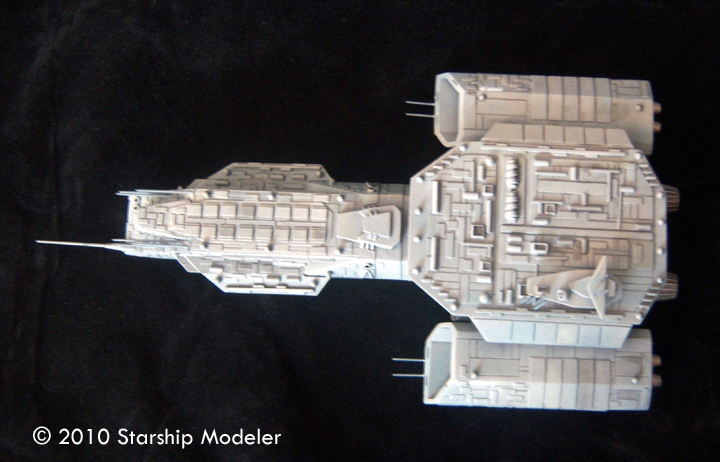
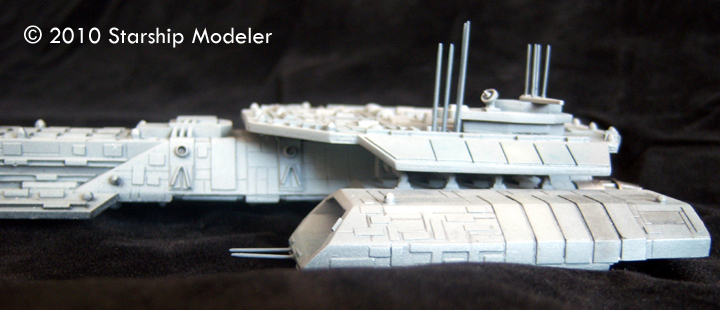
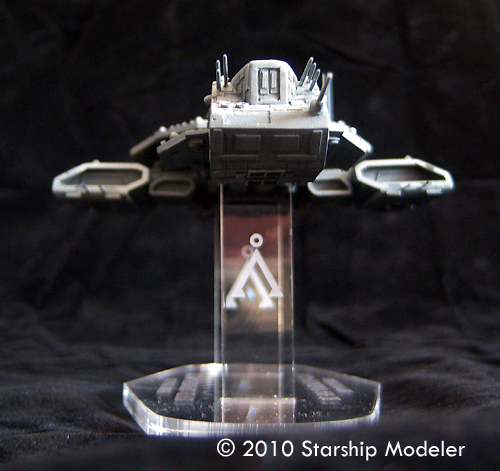
Image: The angle of lighting I tried to mimic Image: Applying the wash topside Image: I went darker underneath Image: Topside Image: The ink/Future wash really makes the Citadel silver on the engines pop Image: Starting the filters Image: After the pigments. I've adjusted the image to bring out the filters - it's not so obvious in real life. Image: From above Image: Front/left view Image: Port side Image: Underneath Image: Antennas. A couple have already been bumped, but the glue I used is flexible so they did not snap off. Image: Right/rear Image: Head on Image: Underneath, again |
I found it while flipping through the channels one Saturday afternoon and I was hooked. It wasn't until late in the series that humanity got its own starships. The X-304 Daedalus class, the Earth's first true warships and subject of this review, played a more prominent role in the SG-1 spinoff Stargate:Atlantis. They are some of my favorite sci-fi ships - tough, no-nonsense vessels meant to go toe-to-toe with whatever baddies the universe can throw at them. What You Get Saltire's kit consists of 24 resin pieces, divided into one-piece main hull, two hangar bays, engines, hull braces and miscellaneous details. A length of styrene rod is provided to make all the antennas save the main one on the nose. ALPS-printed waterslide decals provide names and numbers for all the ships seen or named through the end of Atlantis (Daedalus, Odyssey, Korolev, Apollo, Sun-Tzu, Phoenix and Gen. Hammond). Several pages of illustrated instructions round out the package. Casting is generally crisp and defect-free, especially in later production runs. There is plenty of raised and recessed detail, almost all of which is sharply done. The master pattern was made by hand (as opposed to “grown” using a computer file) so there are areas where detail is slightly out of true. The finished model is accurate in outline and proportions, though some of the detail is closer to artistic license than completely accurate. In the end, the finished model looks every bit the rugged warship scaled down to fit on the shelf, so I have no qualms with minor accuracy issues. Speaking of accuracy, there is some question as to the scale. Based on published statistics for length and beam, the model is very close to exactly 1/2500 scale. However, a convincing argument may be made that, based on the size of the F-302 fighters relative to the ship's hangar bays, the X-304 class has to be quite a bit bigger than the published dimensions - bigger than the Enterprise-E, in fact. I'll leave that argument to those who care for such things - I don't. The finished model is just under 11”/ 23cm when built. Assembly and Painting There's really not much to say about the building part. After the usual parts preparation, the model goes together pretty quickly. I would suggest that you tape some sandpaper to a flat sheet of glass - like a cutting board - when you clean up the edges of the engines and braces. I used a sanding stick and ended up with rounded edges instead of nice flat ones.
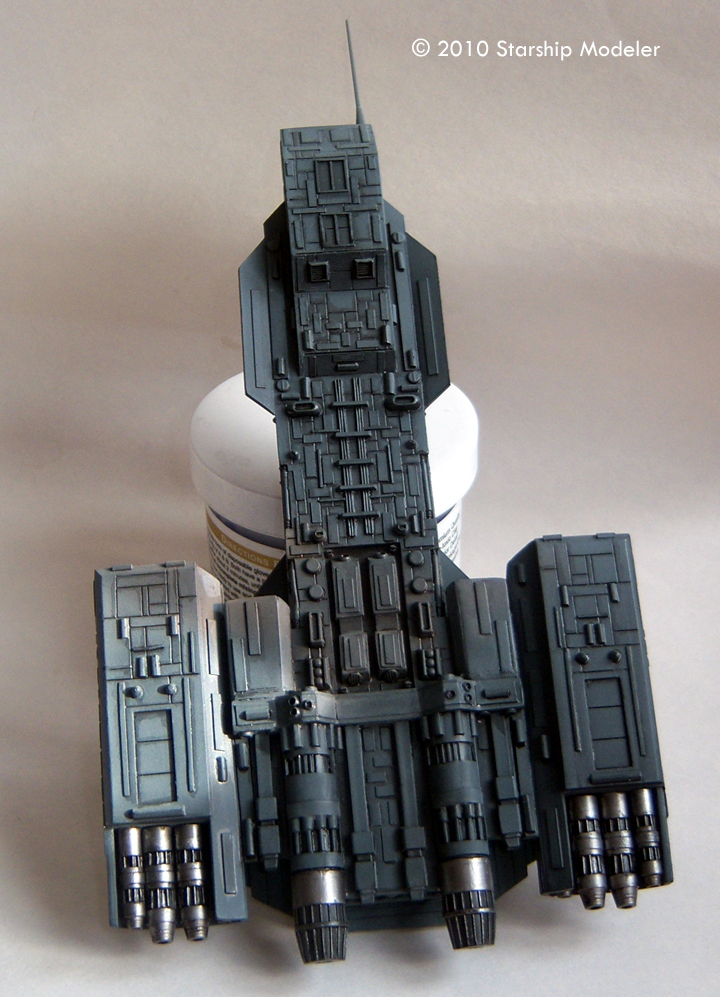
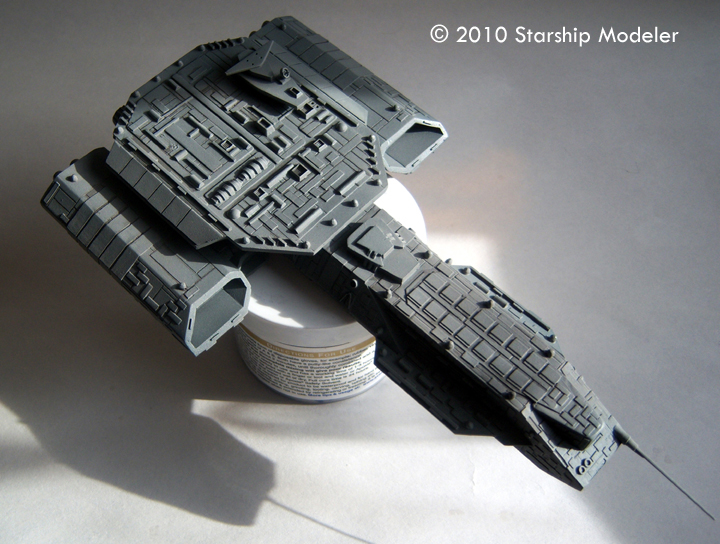
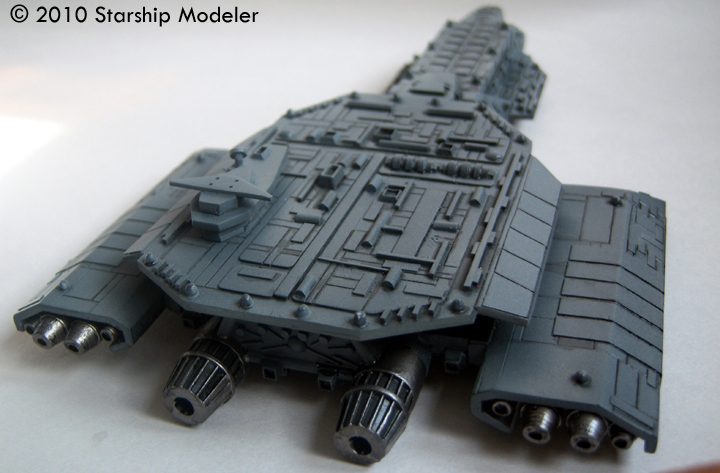
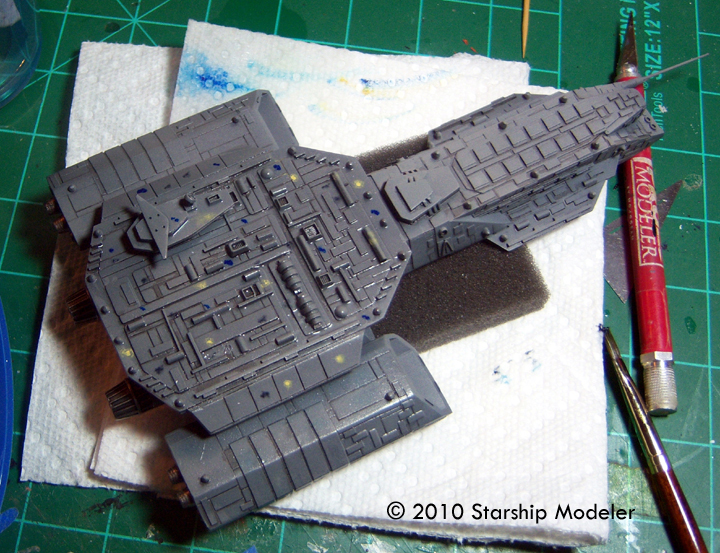
I built my model from the remains of a couple kits that were damaged in shipping. It was a quick and dirty build, to have something to display on the table at Wonderfest rather than to enter in a contest. As a result, I took some shortcuts and did not put as much effort into construction as I normally would. This is most evident if you shine a flashlight down along the area where the hangar bays meet the main hull. All eight of the 'braces' (four on each side) that support the bays were pieced together from broken parts, and none are perfect. I figured they would not be seen ... and for the most part, they can't be seen, so it's not an issue to me. To ease painting, I separated the model into several sub-assemblies: main hull, braces and hangar bays; upper shield and details; engines, and; antennas. After the usual clean-up of flash and mold seams/pour stubs, the main hull assembly (including the large nose antenna) and shield were painted with a grey rattle-can primer, then overcoated with Future (clear gloss acrylic). Engines were hand-painted grey and silver (Citadel's Bolt Gun, a really tough acrylic that goes on smoothly by brush or airbrush). These were then also sprayed with Future as well. I left the rest of the smaller antennas until the end so I wouldn't keep breaking them. After the clear gloss had cured for a day or so, I applied the decals. This was followed by an ink wash. This consists of a drop of black india ink in a small container (like the ones used for condiments at a fast food restaurant) filled with slightly diluted Future. I like the ink/Future wash because it covers well, is more easy to control, and can be removed with water (before it sets - after it sets, use an ammonia-based solvent like Windex, though sparingly if there are acrylic layers under the wash) Weathering Instead of slathering every surface with the mixture, I carefully applied the wash with a small brush. My aim was to create shadows as if there were a light source in front of and slightly above the ship, so the wash is heaviest underneath and on the hull sides where the light would not reach. |
|
To help visualize this, I aimed a desk lamp at the model from the correct angle and used my digital camera to record the natural shadows, then printed those pictures as a guide. After I was satisfied, and the wash had cured, I sealed it in with a clear flat (matte) coat - in this case, Humbrol's Clear Matte enamel. Next, I experimented with a technique I had been reading about that's popular with armor modelers: dot filters. The basic idea is to use small dots of varying colors, highly thinned, to “stain” the finish, varying the tone. I randomly applied small dots of yellow, blue and black artists oils, then came back immediately with a brush loaded with odorless mineral spirits (to thin the oil paints). I carefully brushed through each dot, wiping off the excess on a paper towel before moving on to the next area of the model. I kept another paper towel handy to soak up any puddles that collected around raised details - the idea is to stain the finish, not create a heavy wash. When I was satisfied, I let it sit overnight, then sealed all this with another flat clear coat (which had the effect of intensifying the colors slightly while darkening the overall tone). Lastly, I experimented with some MiG pigment powders. These are very finely ground paint pigments that you apply like pastel dust. The advantage to these over pastels is that the pigments have some sort of binding agent that helps them to stick to the surface better. I used a microbrush to grind various light colors into the finish. I was trying to make the center of each individual panel appear lighter (kind of like how you do post shading with paint). I'm not sure how successful this was, though. Final Assembly Before the final flat coat I painted the remaining antennas. The instructions tell you how many and how long each should be. I cut these from the thin styrene rod included with the kit. I then lightly sanded the tips of each antenna to taper to a point. These were glued in place (there are small holes set into the hull where most of the antennas should be installed). I used an acrylic “superglue” I found at the craft store to affix the antennas. It's a very thick, white glue that supposedly bonds dissimilar materials together (wood to metal, plastic to cloth, etc); there are a number of brands, including a hobby-specific one called Gator Glue). The advantages of this stuff over regular cyanoacrylate (CA) superglues are two-fold: it cures somewhat more slowly, so you have more time to get pieces perfectly positioned, and it's flexible after it's cured. That last is handy for thin, pointy bits with small joining surfaces ... like antennas ... that tend to get broken off easily. When the glue had dried, I painted the antennas grey. When that had dried, I sprayed a final matte clear coat, put the model on Laserfire Creation's nifty acrylic stand (which is sold separately), and declared victory. Conclusions Saltire's kit is a nice size, goes together easily and looks the part when finished ... and that's when you just slap it together, like I did. It's a model that will certainly reward more careful work. I had fun building it, and that's what matters. Highly recommended. |
![]()
This page copyright © 2010 Starship Modeler™. First posted on 27 August 2010.
![[Please click to enlarge]](jl_daedalus_stand_2617.jpg)
![[Please click to enlarge]](jl_daed_2447_wash.jpg)
![[Please click to enlarge]](jl_daed_2457.jpg)
![[Please click to enlarge]](jl_daed_2485.jpg)
![[Roll over! Good boy!]](jl_daedalus_stand_2630.jpg)