
By Scott Scariot - images & text © 2004
|
![[Click to enlarge]](ss_Detroyat-379S.JPG) |
|
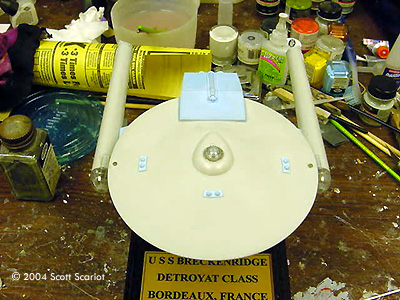
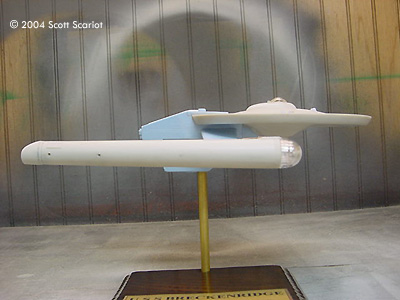
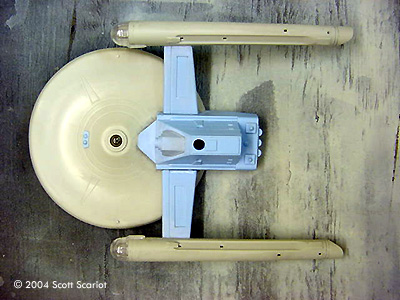
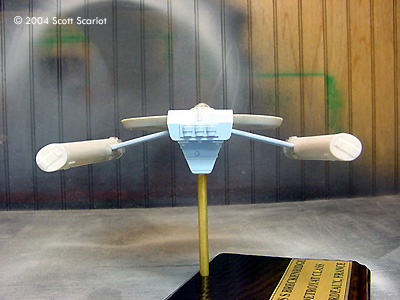
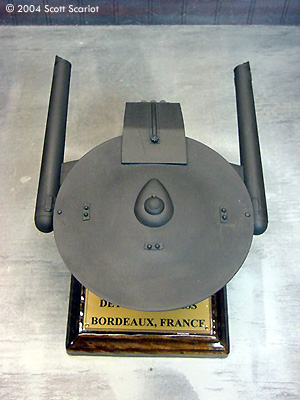
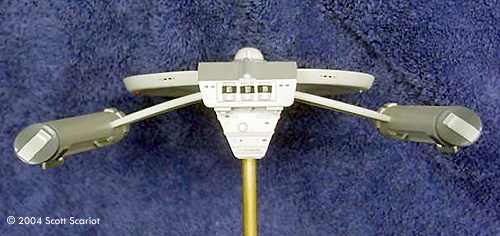
Image: Construction complete (blue parts are resin, grey from Polar Lights' model) Image: Starboard side view Image: Bow Image: Underneath Image: Stern Image: With the Federation Frigate Image: Primed Image: The bridge, printed on paper and placed behind the clear dome Image: Starboard side Image: Bow-on Image: Stern view |
After writing the preview for this kit I started working on it. The resin conversion parts and the styrene parts were washed and left to air dry. To begin I assembled the saucer following the kit instructions. Once this sub-assembly was completed I filled the seams and set it aside. Next I assembled the warp nacelles. The conversion kit gives instructions on how to modify the kit nacelles so they match the schematics in the book Ships of the Starfleet Vol. I. I didn’t like the way the modified nacelles looked, so I assembled them following the Polar Lights kit instructions. I did make sure to use the end caps that the conversion called for. With the styrene parts assembled I started attaching the resin parts to the model. The conversion kit comes with four resin Phaser turrets. Each turret had a thin strip of resin coming out of it. I personally didn’t care for the bits of resin so I removed them and sanded them smooth. What I did like was the template included in the directions that showed where to place each turret on the model. Three of the turrets were placed on top and one was placed on the bottom. Using the template the turrets went on with no problems. Next I glued the secondary hull to the bottom of the saucer with CA (superglue). Once the CA set I glued the top of the secondary hull onto the saucer. I filled the seams and set the model aside. To attach the nacelles to the pylons I made sure to pay close attention to the instructions to ensure I had the right nacelle on the right pylon. Once the nacelles were on the pylons they were attached to the ship. The kit directions recommend that the modeler use epoxy instead of CA to ensure a good hold, so that’s what I did. With the pylons and the engines attached to the ship, and some judicious putty work where the pylons meet the hull, assembly was complete. Painting and Finishing I primed the model with Dupli-Color primer. After the primer dried overnight I airbrushed the model with two coats of a custom Light Gray. To detail the model I painted various parts of the warp nacelles Gray. The plasma vents on the underside the pylons were painted Gunship Grey. The bussard collectors, navigational lights and what I think is the warp core were painted silver and then coated in Tamiya Clear Red, Green, and Blue. The navigational deflector was painted Copper. Once the detail painting was complete, I airbrushed the model with Clear gloss coat and once it set I began applying the decals. The decals supplied with the conversion were done by JT Graphics, however to complete the model the window decals from the Polar Lights kit are needed. I did modify the conversion decals by removing the United Federation of Planets text from around the registry number. The decals were very easy to apply. Once the decals set, I sealed the model with flat coat. I applied gloss coat to the Bussard Collectors, Bridge Dome, Navigational Deflector and Warp Core. I choose not to weather the model. Conclusions Overall I really liked this model. It was fun to build and it’s a really different design. The cost of the conversion kit also makes this a very good value. I highly recommend this project to anyone. |
![]()
This page copyright © 2004 Starship Modeler™. First posted on 25 October 2004.
![[Click to enlarge]](ss_Detroyat-385S.JPG)
![[Click to enlarge]](ss_Detroyat-386S.JPG)
![[Click to enlarge]](ss_Detroyat-384S.JPG)