
By Garry Stahl - images & text © 2007
|
![[Please Click to enlarge]](gs_owd_18-finish01.jpg) |
|
Image: Filling voids Image: Stand Image: Drilling a hole for the stand Image: Done Image: Wings Image: Hull Image: Assembled, left/rear view Image: Front/left, in primer Image: Right/rear Image: Underneath Image: Base coat Image: Making progress Image: Another look Image: Underneath Image: Completed model, rear view Image: Left/rear Image: Underneath Image: Starboard side |
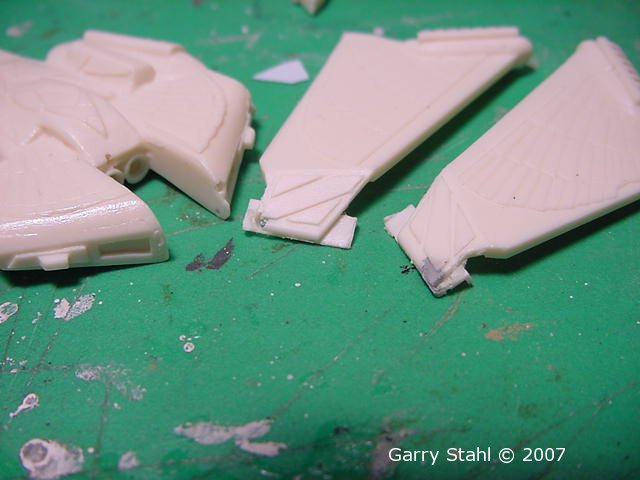
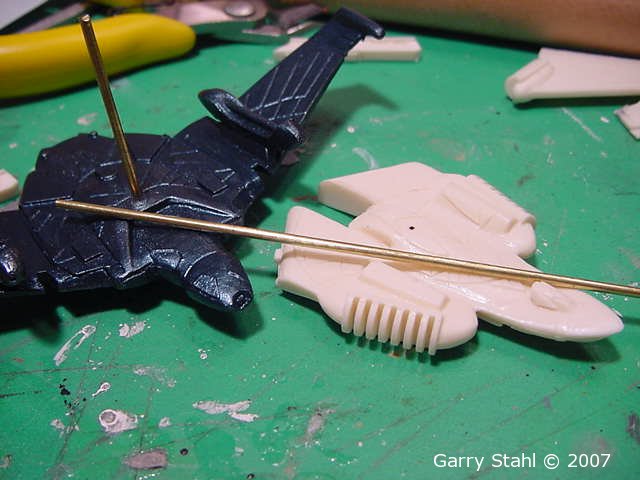
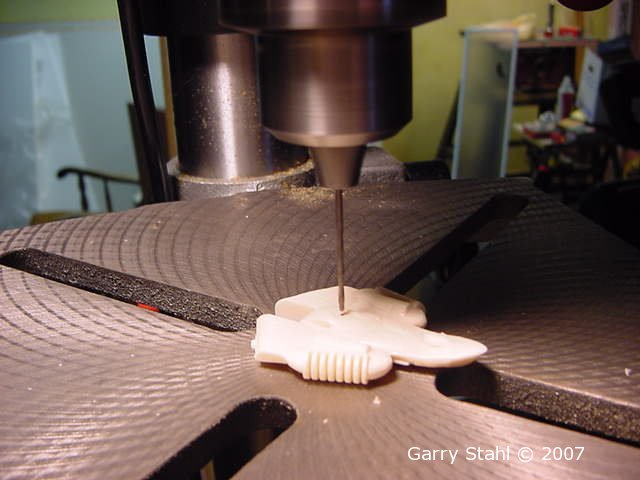
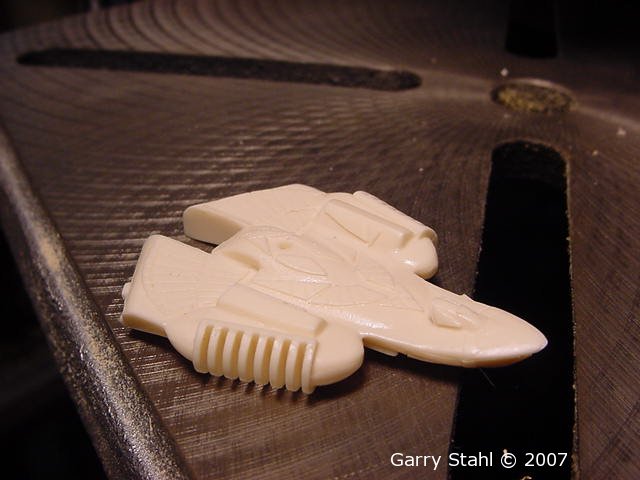
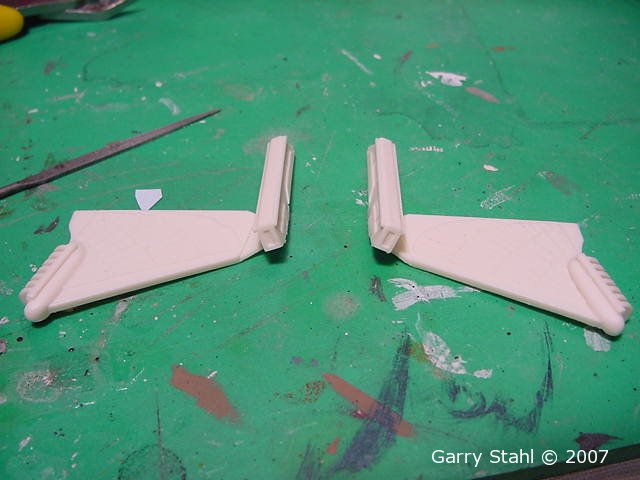
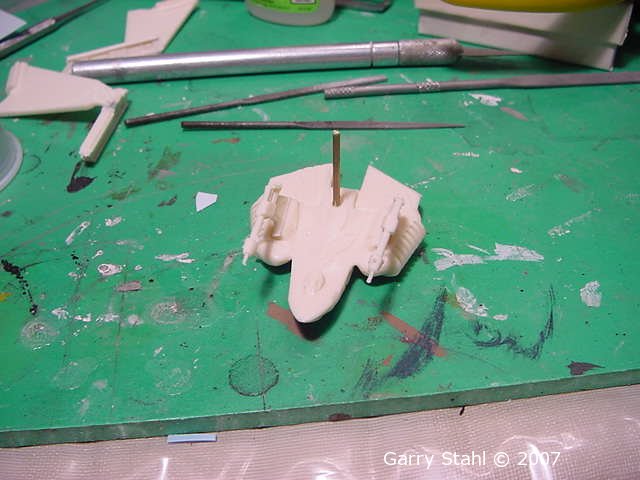
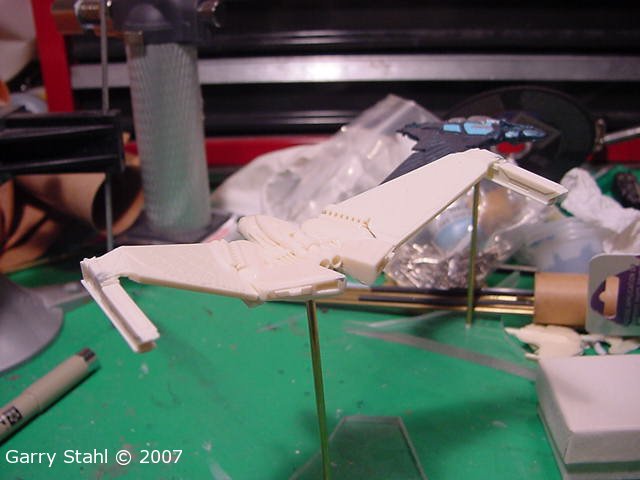
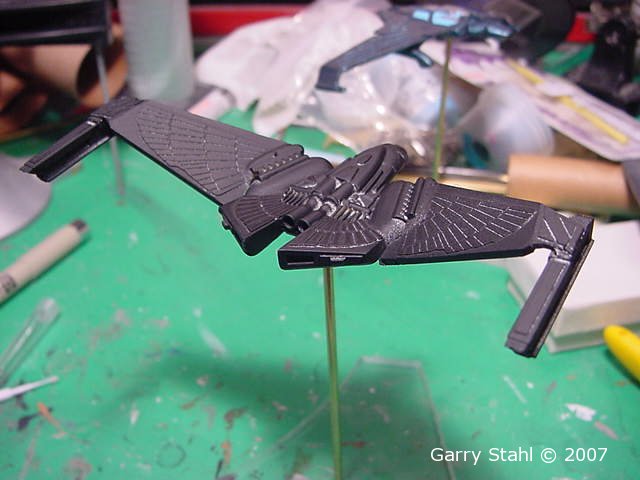
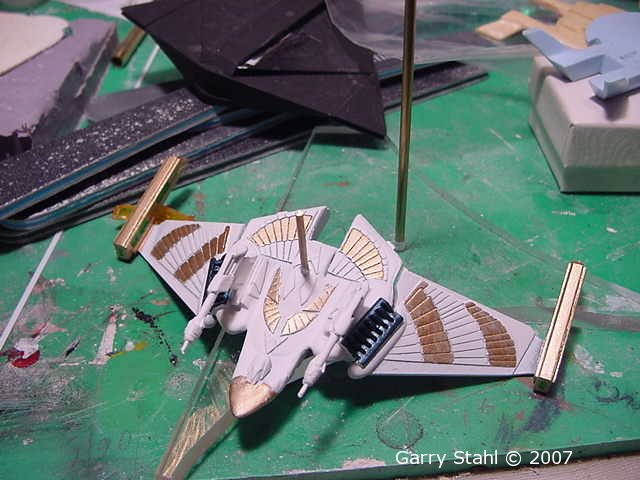
The old FASA Star Trek game had its points and its fans. Along with an RPG it had a starship combat simulator. Available for that game were a goodly number of lead miniature ships in the 1/3900 scale, or there about (It never was scale exact). Federation, Klingon, Gorn, Orion and Romulan ships were represented. Today's article is a look at the Romulans. Within the last couple of years fans of those old wargaming minis have been working to resurrect their favorites in 1/2500 scale. Ships of the FASA lineage have come from the Starship Modeler Kit Factory, VM Miniatures, RBM, and Odyssey Slipways. I am going to discuss the latest issue from Odyssey Slipways, the Romulan "Winged Defender". Preparation As with any resin kit the first thing I do is wash it to remove any mold release. This time I used "Comet" and a tooth brush to scrub the model well. I then left it to dry overnight, except for a brief foray into the Computer room for some photos for the out of the box review. Resin is not an exact science. This model is no exception and there are a couple of bubbles in the casting. I'm lazy about bubbles. If the normal rigors of assembly and finishing will not open the void, I don't mess with it. Only if the void is open to the surface or I think it will get opened do I mess with it. My usual methods for voids is gap filling CA and baking soda, or for small voids I use a touch of plastic putty. These are not critical and not large. Putty is called for. I probe the voids with a T-pin to see if they break open easily. In this case all the visible bubbles are on the surface and open. One in each wing at the joint for the nacelle, and four in the stern of the hull. None are easy to get at. My life is so hard. The holes are shortly filled with Molak "Stucco". This is a very fine grained putty that I highly recommend. Once dry I will clean the area with a small file to remove the excess. As a new kit the Winged Defender mold is clean. There is a little flash on the smallest parts and that will clean easily. Assembly Once I have the bubbles fixed it is time to consider the mounting stand. My usual method for stands on smaller 1/2500 ships is to place a small rod permanently in the belly that telescopes into a 3/32 brass tube. While I never mount this rod at the start of construction it is usually best to drill the hole for the rod before you get started. Down to the drill press with a 1/16th inch drill. One hole drilled I can proceed with gluing the kit up. The Winged Defender kit is a small one. Strength at the joints is not an issue, so CA is fine for assembly. I will use my usual gap filling CA for most joints. The radiators at the wing root are beautiful detail I don't wish messed up. So I will use thin CA there. I start with gluing the nacelles on the wings. That goes quickly and a I follow with gluing the feet on and the post for the stand. One last step and we have a model. The only fly in that ointment is that my "insta-set" super thin CA has insta set. The whole bottle is a block of acrylic. Once, just once in my modeling life I would like to use up a bottle of that devils brew and get my money's worth from it. We will have a slight delay as I depart to the hobby store for a fresh bottle. Through the wonder of modern technology you will not experience this delay while reading this article. With a new bottle in hand I pour a bit into a small plastic cup, the kind you put condiments in at buffets. The local GFP is a great place for modeling supplies. Seriously, look outside the model box. Good stuff is everywhere. I use these little cups for gluing and paint. Holding the wing in the position I want it in, I brush the glue along the joint with a micro brush. Done. We have a model. Paint & Finish Now that the gluing is finished it is time to paint. I have decided on a Praetorian Fleet paint scheme as per LUG Trek's "The Way of Dera", an excellent world building and RPG sourcebook.. White and gold with bare steel in some places. |
|
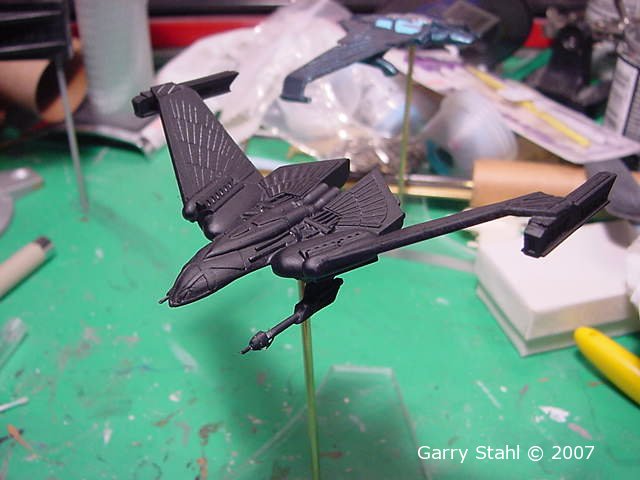
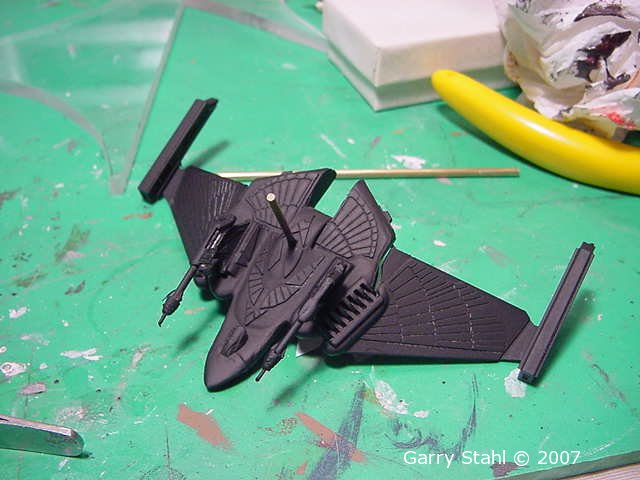
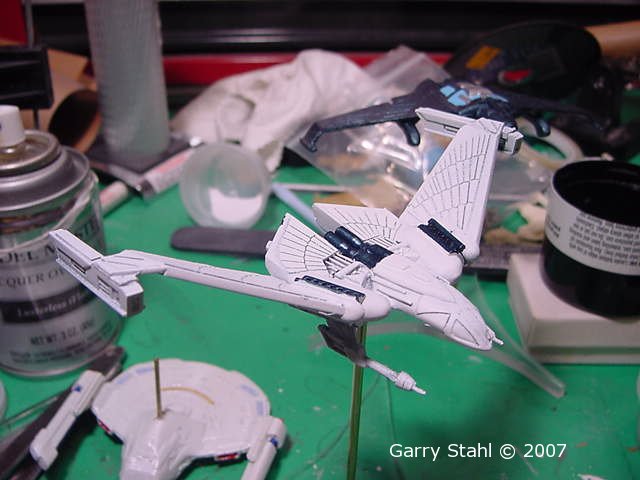
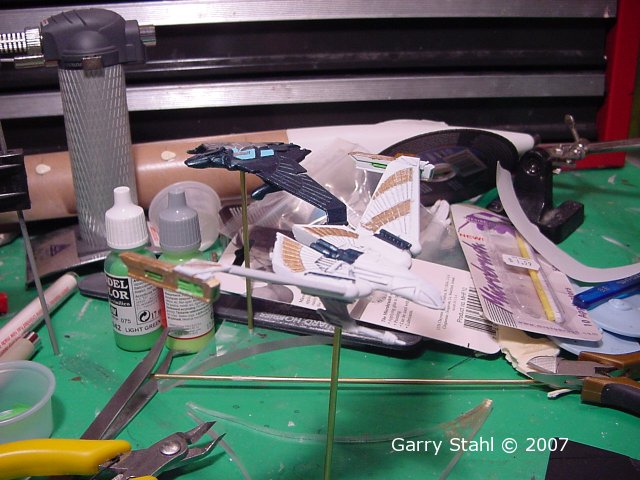
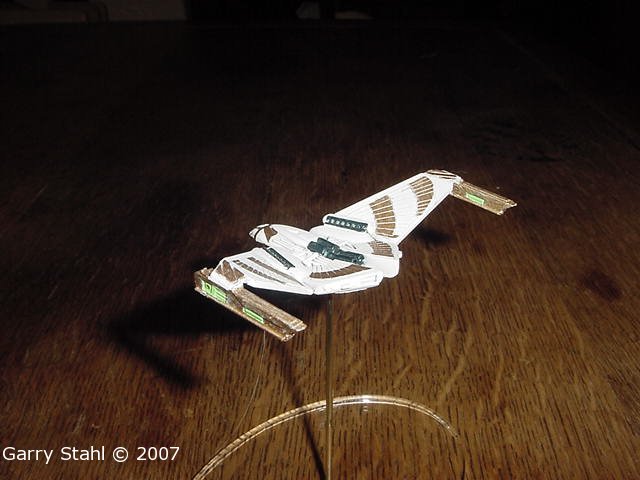
First up is a black primer. I use black even on the white ships. I just like how it turns out. I usually use Citadel rattle can primer. In this case I find the nozzle has clogged since the last use. Once again we have an in article delay while the nozzle soaks overnight in Simple Green. Or, while I wait I can pull the nozzle off the white primer. Being impatient.... That didn't work either. The problem is the can. I empty my nose in the general direction of perfect build articles. I shall putter on other projects while the can soaks its head in Simple Green. I might as well as the hobby shops are closed at this hour and I have no other primers. Well the verdict is in, new can. Hobbies are such fun. Hippity hop to the hobby shop for apocryphal of primer. Once done I shoot the model with black, and follow that with white. I am not extra careful with the white. The point behind the black was to shade the crevices. The white coat painted I'll start with detail painting. First some gunmetal blue on the piping and radiators. I follow that with gold on the feathers and various raised features of the hull. Steel and more gunmetal on the foot-guns and once I have done my best to clean the result up for the company I place it on the stand for display. As with all my Starships the stands are 3/32 brass rod sent in a 1/4 inch plexiglass oval base that I make myself. I used an indivdual base for the photo shoot. It will be displayed on a larger base with the Romulan "Whitewing" also from Odyssey Slipways. Conclusions Okay, granted, I am not Mr. Super Builder. I do not paint that well even if I am proud of my building skills. However I thought a model by Joe Average would be enjoyed by the rest of us that don't paint the eyes on the 1/350 scale bridge crew. You do not have to be a professional model builder to show off your work and be proud of it. The work of the pros is a goal to strive for, not a reason to be ashamed of your own efforts. |
![]()
This page copyright © 2007 Starship Modeler™. First posted on 26 March 2007.
![[Please click to enlarge]](gs_owd_01-clean.jpg)
![[Please click to enlarge]](gs_owd_08-right-front.jpg)
![[Please click to enlarge]](gs_owd_16-Getting_there1.jpg)
![[Please click to enlarge]](gs_owd_19-finish02.jpg)