
By Vince Hoffman - images & text © 2002
|
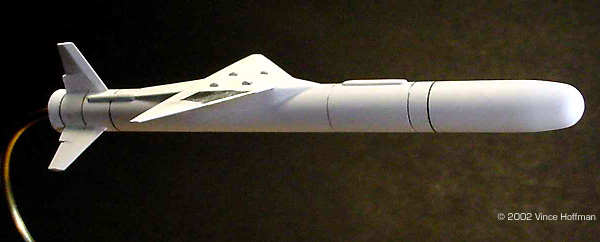
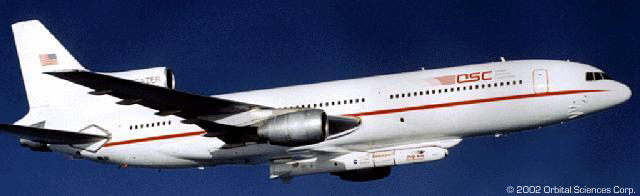
![[Click to enlarge]](vh_peg_beautyshot.jpg) Orbital Sciences Corporation, (OSC), developed the Pegasus launch vehicle to provide their customers the lowest cost-per-pound to place a 1,000 LB payload into low Earth orbit. |
|
Image: More putty was needed on the underside of the wing root Image: Instructions are adequate Image: "Maggie", pre-launch Image: Test vehicle, mounted here on a B-52 Image: Carried aloft by a modified L-1011 Image: Another in-flight view Image: Aloft, right side Image: On the pylon Image: On a ground-handling trolley Image: Motors |
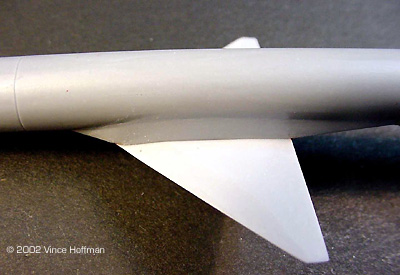
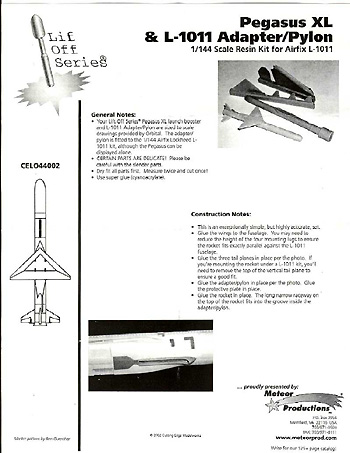
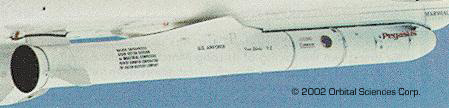
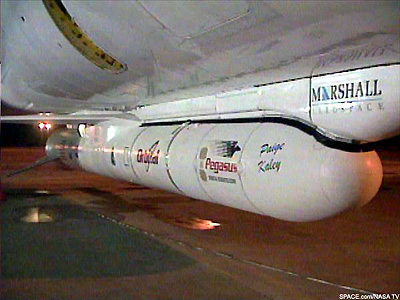
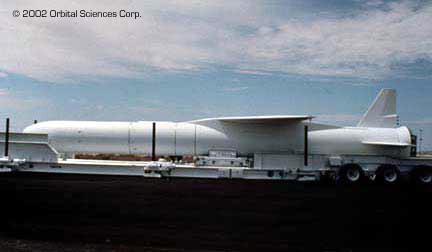
The Pegasus launch vehicle consists of three solid rocket motor stages. A wing and fins provide lift and attitude control of the first stage, and gimbaled rocket nozzles on the second and third stages. The vehicle is carried aloft horizontally and dropped from a carrier aircraft at approximately 40,000 ft and .8 Mach. Upon motor ignition, the vehicle accelerates to a velocity of 8,300 fps (8.3 Mach) and performs a 2.5 g positive pull up to the correct trajectory angle. The 2nd and 3rd stages are then fired sequentially to place the payload into orbit. The KitThe kit, produced by Cutting Edge Modelworks, consists of 7 very nicely cast resin parts and a single page instruction sheet. No decals are provided. The kit costs $17.99 from Meteor Productions. Accuracy is quite good, although some panel lines were omitted from the forward parts of the rocket, and there is no engine detail. The wing shape is good as is the wing boot. The only problem I found with the kit are the tail fins. They all appear to have been carved individually and none exactly match the others. Moreover, the surface texture of the fins is a bit rough. All of the parts are still attached to their pour lugs, which with the aid of a razor saw, are easy to remove. Construction Assembly was fairly straightforward. The parts were removed from the pour lugs and sanded. The rough textures on the tail fins were sanded, and some fine cuts with the x-acto brought each fin closer in appearance to each other. I drilled out the engine with a countersink bit, then used a 1/8" bit to make the hole for the mounting wire. The fuselage was then temporarily glued to a wood dowel to make construction and painting easier. The wing was attached to the fuselage with superglue. The lower surface of the wing fits very nicely to the wing boot, but the top of the wing requires putty to get all of the angles to conform properly. Bondo glazing putty was used for this to very good effect. After the wing putty had dried, the tail fin locations were measured and marked with a pencil. Then the tail fins were securely glued in place. Painting & Display The model was painted in flat white Gunze Sangyo acrylic paint. An airbrush was used to apply the paint in three light coats, with the final coat being "wet" with 60% isopropyl alcohol. This final wet coat creates a very smooth surface finish, as opposed to the grainy appearance flat paints tend to leave. The only surface detailing are finely scribed lines around the circumference at each stage or connector section. These were drawn with a .003 black pen, with two of the rings hand painted with chrome silver. Bare Metal Foil was used for the silver panel on top of the wing. Conclusion I spent a total of 12 hours building and painting this kit, with most of the time going into carefully puttying the wing boot and painting the model. I am very satisfied with this kit overall, but it would be nice to have some decals. My local hobby shop did not have an L-1011 kit in stock, so a test fit of the pylon was not possible. The rocket fits quite nicely into the pylon and I don't imagine the modeler will have any trouble with attaching it to the aircraft. |
 I purchased a second kit for a future conversion to the Pegasus/X-43 combination. I'm looking forward to that! Many thanks to Meteor Productions for providing the review sample. Manufacturers and retailers, interested in getting your wares reviewed and publicized on a site averaging 3500+ readers a day? Contact us! |
|
![]()
This page copyright © 2002 Starship Modeler™. Last updated on 27 November 2002.
![[Click to enlarge]](vh_peg_front.jpg)
![[Click to enlarge]](vh_peg_parts.jpg)
![[Click to enlarge]](vh_peg_putty.jpg)
![[Click to enlarge]](vh_peg_top.jpg)