
By Scott Scariot - images & text © 2008
|
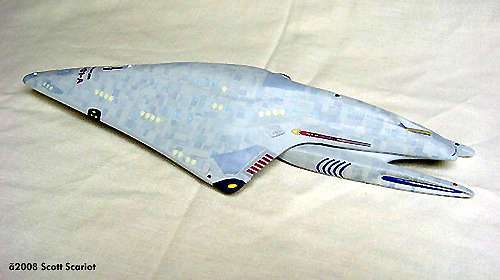
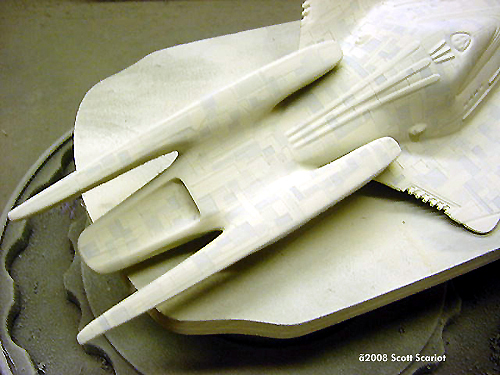
![[Please click to enlarge]](ss_dauntless_Above.jpg) In 2002 I attended my first WonderFest. At that show I bought one of Alliance's USS Dauntless kits. I built that kit shortly after the show, but I wasn't happy with it. At this past WonderFest (2007) I picked up another one. From the start of the project I wanted the model to resemble the CG model from the show. The CG model was covered in a mottled paneling. I knew it would be a challenge, but one I hoped I could rise to. |
|
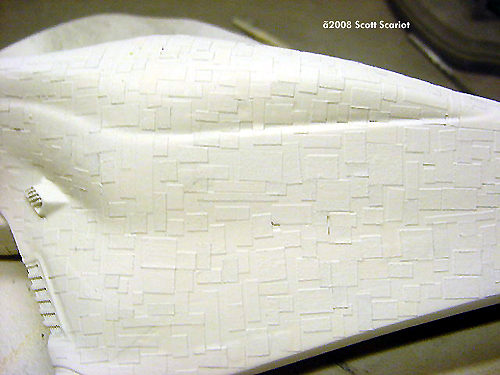
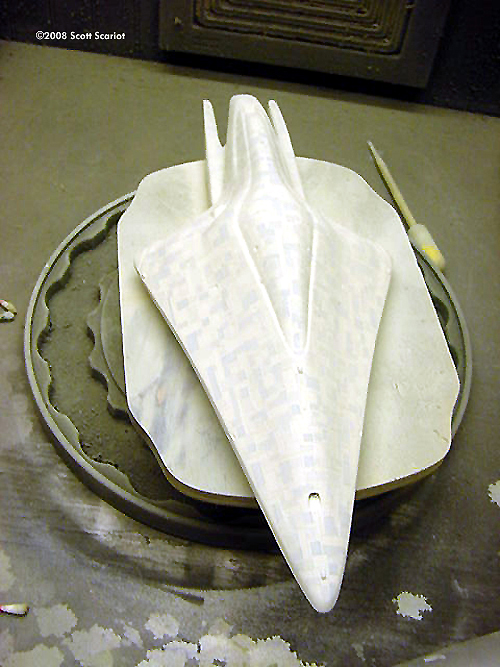
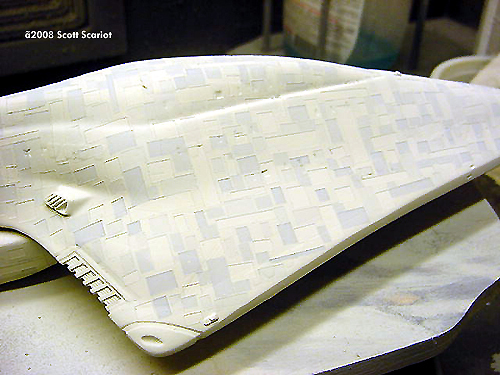
Image: Underneath Image: All taped up and nowhere to go Image: All (or almost) the tape peeled off Image: After the overcoat Image: After the overcoat, backside
Image: Underneath, after the last coat Image: Further back Image: Ah, the power of Future
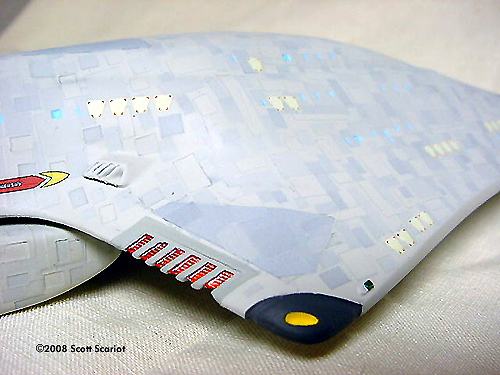
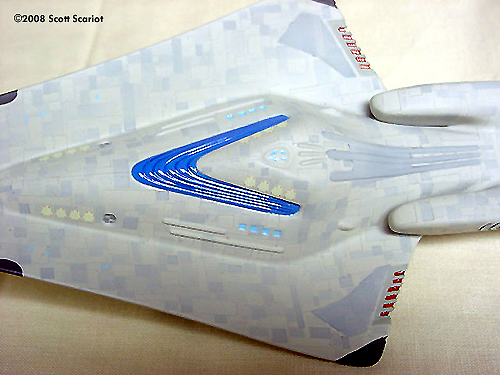
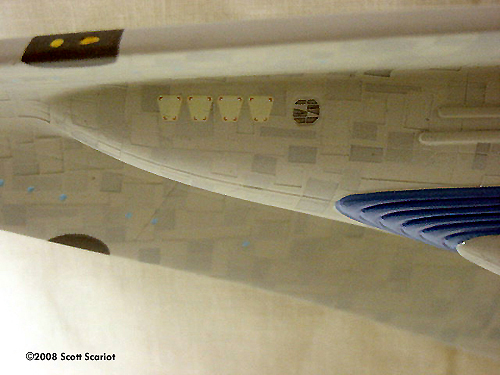
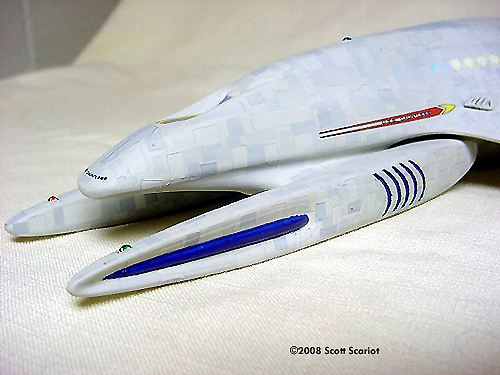
Image: Completed, underneath Image: Front and center Image: Panel detail Image: More Image: Impulse engines Image: That's not a smile, it's a Nav Deflector Image: Detail Image: Warp nacelle |
Assembly
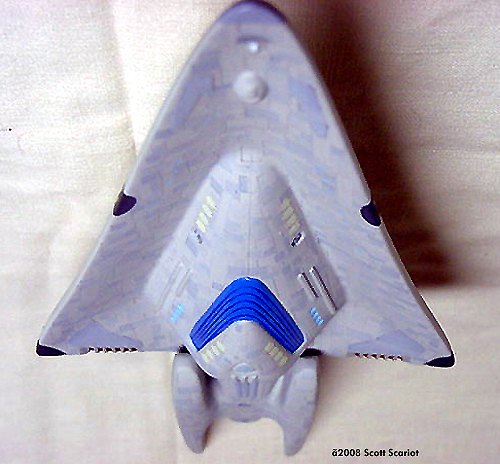
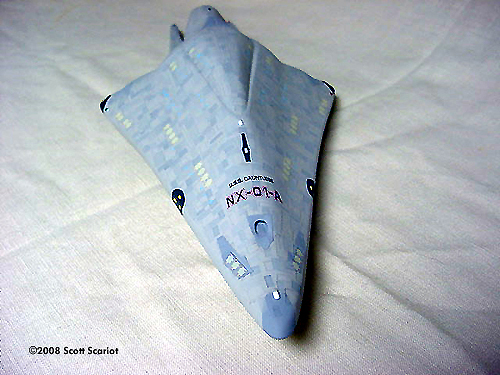
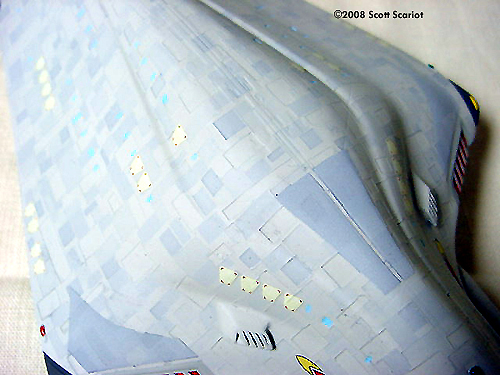
To start, as always, I cleaned the parts with soap and water. Assembly was very straight forward. Using CA I glued the warp engines to the rear of the hull. Then I glued the impulse engines onto the spots on the back of the primary hull. The final piece, the navigational deflector, was glued into the slot under the main hull. After assembly I filled all of the seams with Aves Epoxy Putty. I smoothed the putty out with a q-tip dipped in rubbing alcohol. Once the putty hardened, I then primed the model with Dupli-Color primer. After a coat of primer I refilled any seam that needed attention. I then re-scribed any detail that was lost and I connected any panel lines that crossed the seams. I sprayed on another light coat of primer and the model was ready for painting. I then shot the model with a light coat of Testors Camouflage Gray enamel. Painting and Detailing I wanted the model to match the CG model from the show but I had no real good idea as to how to do this. So I tried several different techniques on some scrap styrene. I tried free handing a pattern. That was not pretty! I designed a stencil on my computer, but it didn't "look" right. The last thing a tried was small pieces of masking tape. I applied them in a random pattern and then painted over them. This looked good to me. I used a combination of Blue painters tape and Tamiya masking tape. I cut various shapes and sizes in the tape and I applied the bits of tape to the model. Once it looked like I enough tape on the model I sprayed the model with a light coat of Dark Gull Gray. Once this dried I added more pieces of tape and then sprayed a coat of Neutral Gray. This was followed by another layer of tape and a coat of Light Ghost Gray. Then I had to peel every piece of tape off the model. This whole process of painting and taping and then removing the tape took about two weeks! At one point my wife asked me if I was crazy. Once all the tape was off the model. I lightly sanded the whole thing. This was to even out the difference in-between the squares. Then I sprayed on a light coat of Camouflage Gray, just to tone down the colors of the panels. I then sprayed several coats of Future onto the model. Since Future is self leveling it too would help to even out the panels. Once the Future set it was time to begin detail painting. I began by masking off the panels on the ship that appear to be a darker gray. Once the panels were masked off I sprayed them with Dark Ghost Gray. The coat of paint was thicker than I wanted it, my goal was to be able to see the square pattern through the Ghost Gray. So I went back and repainted the pattern. Once that was done I painted the panels but this time I used Light Ghost Gray. This helped to blend the panels with the over all color of the rest of the model. Once the panels were painted I painted the shuttle bay door Gray. The reference pictures I was using showed a landing strip, for lack of a better term. So I masked off the area and painted one on using a dark gray and Yellow. The area around the impulse engines was masked off and painted Gull Gray, then each individual vent was painted Silver and then candy coated with Tamiya clear Red. The Warp nacelles were masked off and painted with Arctic Blue Metallic. The RCS thrusters were painted Euro 1 Gray and the ports on each thruster were painted Yellow. The Navigational deflector was painted with Neon Blue and then a wash of Tamiya clear Blue was added to highlight the step pattern on the deflector. I amazed myself with the Tamiya wash I wasn't sure it would work. But it did and quite well too. Each navigational light was painted Silver and Candy Coated with either Tamiya Clear Red or Green. The bow lights were painted White. The reference pictures show the windows being a light blue color. So I "painted" the windows with a Light Blue milky gel pen. I really like using these for windows. They give a lot of control and because the ink is water soluble if you make a mistake a damp Q-tip will clean up the error. The windows were the final step in the process of detailing the model. During the process how ever I did find a couple of pieces of tape that I hadn't removed. So I did and to blend that area into the surrounding areas I dry brushed some Camouflage Gray on. I applied another coat of Future to seal the model and to prep it for decals. Decals and Finishing The kit decals were ALPS printed by JT Graphics. The decals sheet is fairly small consisting mostly escape pod hatches. The decals were great. They went on like a dream. I was also glad to find out that the escape pod hatches were printed with white first, so that they were less translucent. I applied the decals from the bottom of the model to the top. Because of the small size of the decals I didn't use any decal setting solution. I let the model sit overnight, and the next day sprayed another coat of Future. I wanted the model to stand out a little more than the paint job already would. So I decided to complete the model with a semi gloss finish. I made my own. I mixed Future and Tamiya flat base together in an 80/20 ratio. Then I sprayed it onto the model. I liked the look but the model did pick up and reflect light at odd angles, so some parts of the model looked flat and other parts looked glossy. So I re-sprayed the model with flattened Future. This took care of the reflective issues. Once the Flat coat dried, I brushed Future onto the Impulse engines, Warp Nacelles, Navigational Deflector and all of the Navigational Lights. Final Parts The last thing I did was made a stand for the model. I stained a pine plaque. I would usually create a dedication plaque and put it on the plaque, but a plaque for the Dauntless was never shown. I could have created one, but I wanted something a little different. So I printed out a picture of the Master Systems Display from the Dauntless and glued it to the base. I drilled holes in both the base and the model and added a brass rod. I drilled the hole on the model so that the ship is in a more interesting position on the stand. Conclusions The whole project took about three months to complete. I'm very happy with the final model. I think that I was able to give my model the look of the CG model. I'm not sure I would want to do it again, but the tape technique created a pretty accurate pattern. The only bad thing about this project was that now with this new Dauntless sitting on the self the Voyager next to it looks mighty sad. If you have a chance to pick this kit up I would. |
![]()
This page copyright © 2008 Starship Modeler™. First posted on 26 March 2008.
![[Please click to enlarge]](ss_dauntless_Above_lil.jpg)
![[Click me!Click me!]](ss_dauntless_Forwardandabovewithallthetape.jpg)
![[My kingdom for a click]](ss_dauntless_BowForward.jpg)