
By Garry Stahl - images & text © 2008
|
![[Please click to enlarge]](gs_d4_Finish1.jpg) Once again I have dipped into the Odyssey Slipways stable for another ship. This time it is the D-4 Predator. |
|
Image: Head Image: Hull Image: D-4/ D-7 hull comparison Image: Neck Image: Instructions Image: Underneath Image: Not for the faint of heart Image: Rear view, before primer Image: Port side Image: Base grey coat Image: Right/rear view Image: from above Image: Right/front Image: Starboard side
|
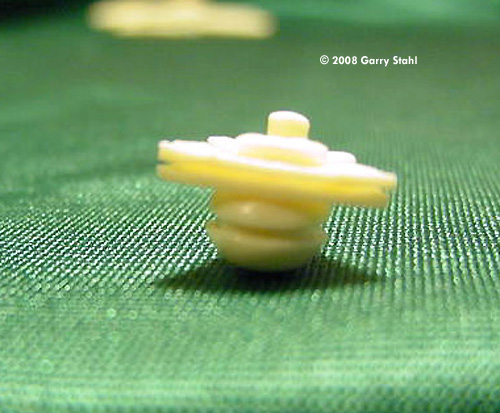
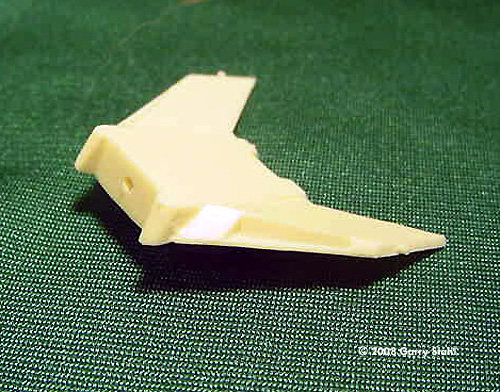
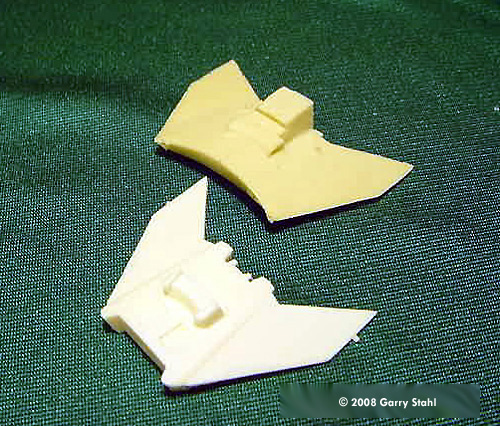
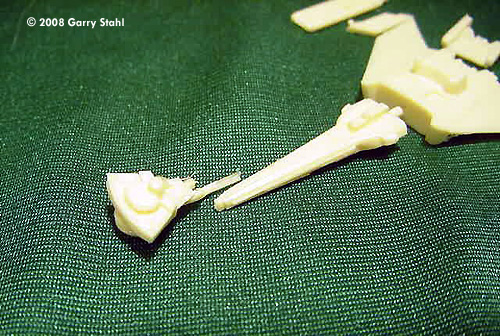
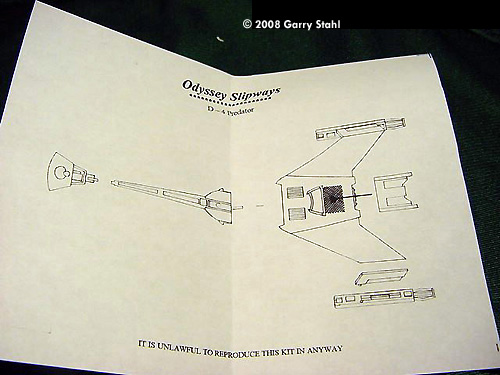
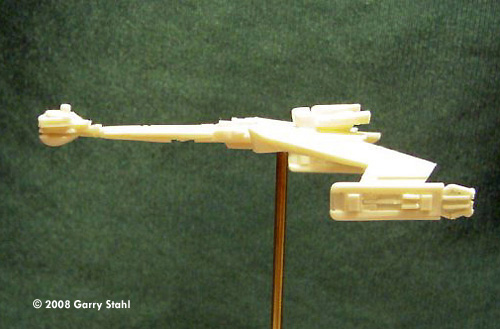
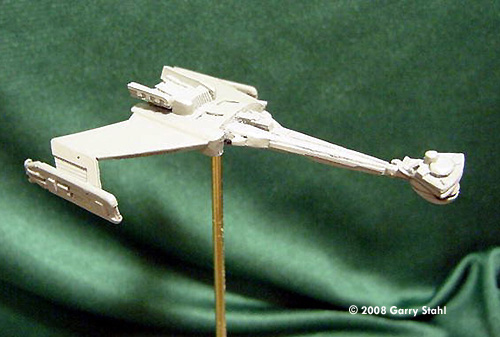
This design is another visit to the FASA universe. According to the Klingon Ship Recognition Manual the D-4 Predator was the cruiser right before the famed D-7. What You Get The D-4 Predator is 8 pieces of the typical beige resin. It is smooth and clear of obvious bubbles. The first thing that impressed me about this kit was the delicate nature of the model. One does not tend to think of Klingon vessels in terms of delicate, but this one is. The D-4 is the same general layout as the more familiar D-7, but built on a lighter scale. (A picture of the VA Katinga and OS D-4 hulls together demonstrates this.) My big fat fingers are going to have a time of getting this one put together. On the positive side Chris has included register pins on all parts, even the tiny pylons that hold the nacelles. The only down side is the corresponding holes leave holes clear through the parts. Careful filling will have to be done. Other than this the model is nearly shake the box simple. First things with any resin model is a good cleaning. The D-4 soaked in Simple Green for a bit and I scrubbed it down with a tooth brush. After this the model was left to dry overnight. Then a brief photo shoot in the raw form before I take any tools to it. Assembly and Finish The D-4 has a single sheet of instructions. FOLLOW THEM. It looks like a no brainer but it is easy to install that neck upside down. I did, and was the cause a many an issue in getting the ship done right. The first concern is to clean what little flash and mold pour stubs there are on the model. The only significant stub is on the head, and it is not a difficult removal. Some light flash exists hear and there. There are no mold seams. It is about what I have come to expect from Odyssey Slipways, especially when the molds are new. Step two in any of my builds is to drill a hole for the mounting rods. In the case of a small ship like this a 1/16 inch brass rod of one inch thereabout in length is permanently glued into the hull to slip into a 3/32 tube. I won't mount the rod until the ship is assembled, but I make the hole first. This means a trip down to the drill press. Great care will have to be taken to not drill clean through the small hull of this model. Next I glue the "deckhouse" to the back of the hull. There is a small gap between the deckhouse and the hull. I am debating filling it with a little gap filling CA or using putty. I think CA will give me less trouble. I attach the neck and the head. There are no real problems here. I don't like the tiny connection between the head and neck. There is very little gluing surface. A result of the ship design I realize, but a weak point. Nacelles and pylons are next. I am not looking forward to this. The parts are very small and the hands are very large. I glue up the pylon nacelle assemblies before attaching them to the hull. Well that was the plan. Things seldom go according to plan. I dropped a pylon in the glue. I quickly pulled it out and got debonder on it, soaked it in debonder in fact. DO NOT DO THIS! It destroyed the part. Thank you Chris for getting me another pylon to replace the one I destroyed. Yes, I included a picture, not for the faint of heart. Not only did the debonder erode the resin but it left it rubbery and flexible as well. Please puke in the bucket, thank you. Oh, Bob Smith debonder for the curious. I have decided to continue with my older Klingon ships getting a classic TOS old school look of medium gray. My first step with any model is priming. I use a black Citadel primer from the rattle can. This is followed by a good coat of Testors Navy Aggressor Gray, also from the can. I pick out grill work in Testor Model Master Aluminum and call it a job with a good coat of gloss. Now, Odyssey Slipways does not include decals with their models. I still consider this the only weak point in their product. So with the fact in mind that I have been doing a lot of Klingons lately I picked up a sheet of "Ravenstar" Klingon markings from JT Graphics. I'll grab me a couple of small trifoils and some lettering from that. |
|
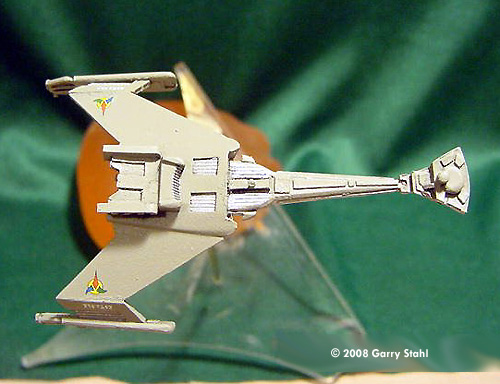
After a couple of good coats of flat clear, we have a model. Conclusions I'm naming this one the IKS Spawn of Murphy. If it could go wrong, it did. For a simple model I have more gaffs, blunders and out right bad luck with this build than any I can remember in a good long time. Not the fault of the model mind you, just one of those things. In any case it's done and will be displayed next to the D-10 on my shelf. |
![]()
This page copyright © 2008 Starship Modeler™. First posted on 14 May 2008.
![[Please click to enlarge]](gs_d4_wholeship.jpg)
![[v]](gs_d4_assemble1.jpg)
![[Please click to enlarge]](gs_d4_build1.jpg)
![[Head on]](gs_d4_Finish4.jpg)