
|
By Garret Parsons - images & text copyright Quantum Innovative Communications © 1997
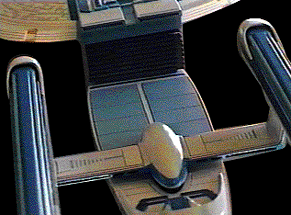
What a disappointment! It's small, very small. What were they thinking? We all waited so long for this model and this is what we get for our troubles. After looking at the pieces one by one I was impressed with the level of detail in the model. Oh well. I stopped my whining and decided to paint it with detail that would make it look bigger. |
 |
(Left) Studio model. (Right) My model. |
 |
|
Aztec Panels
Follow The Painting Instructions One of the things that I was impressed with was the painting instructions with the exception of Gull Gray. On the production model there was no Gull Gray. Two blues were used instead, a dark blue and a light blue. Other than this little change the paint guide is accurate. 

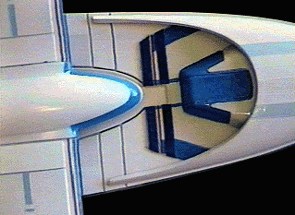
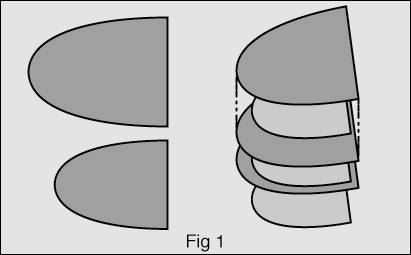
Stick your neck out Last but not least I made one major change to the model's structure. The hull neck was very poorly made on the kit. The production model's neck was made from layered pieces of plastic cut in to shape. The kit's neck looked like it was all one piece, and since it was ribbed it would have been to hard to clean up the part lines. I made number of pieces in two sizes (see fig.1). The end result is a lot more impressive and was very easy to do.   In Closing I was disappointed in this model over all, I believe a lot of work went into this model to make it accurate. It's too bad the modelers that worked on the master for AMT must have felt let down at it's size. My advice to you is don't put all the work into the model like I did, have fun with it, paint it well, stick it on it's stand and then grab a ruler, measure it and scratch build one for yourself that is bigger. |
