
|
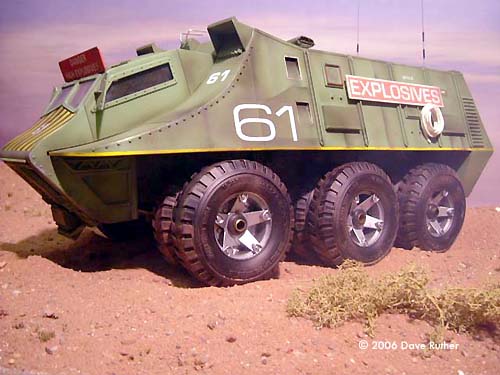
By Dave Ruther - images & text © 2006 Out of all the Gerry Anderson shows, Joe 90 never featured that high on my list of favorites. However, there were certain aspects of the series that lurked in my dim and distant memories. One was the titles, another was Mac's Jet Car, but probably my most vivid memory was seeing the episode where Joe has to drive a truck packed with bouncing drums of high explosive across dangerous terrain! These trucks were originally designed by Mike Trim - the same guy who designed the SHADO Mobiles in UFO and to some degree, there are striking similarities between the two vehicles. |
![[Please click to enlarge]](dr_truck_truck7.jpg) |
|
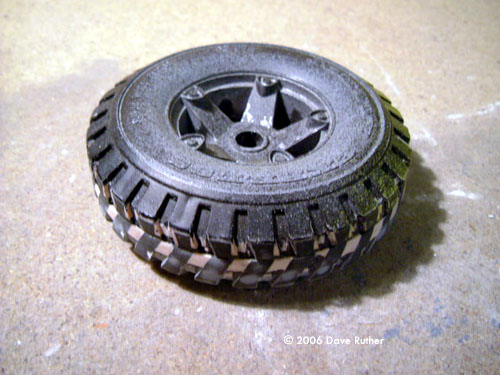
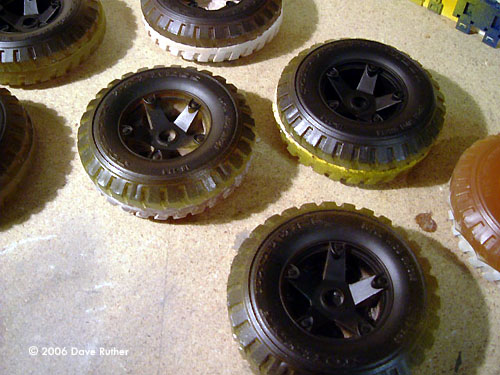
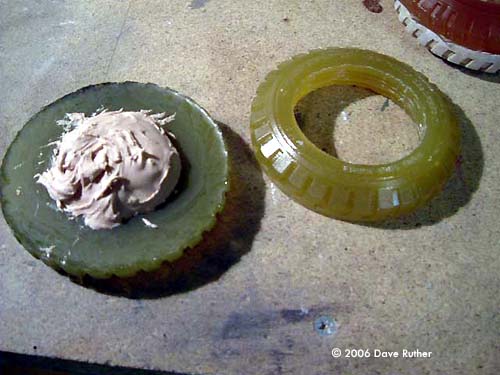
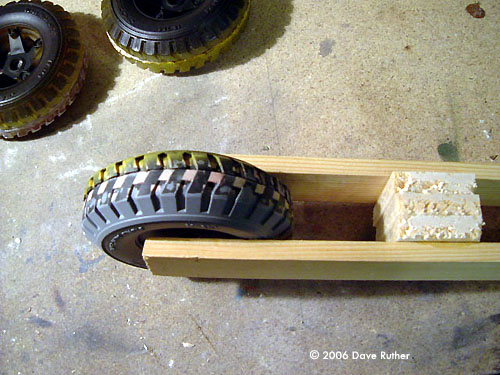
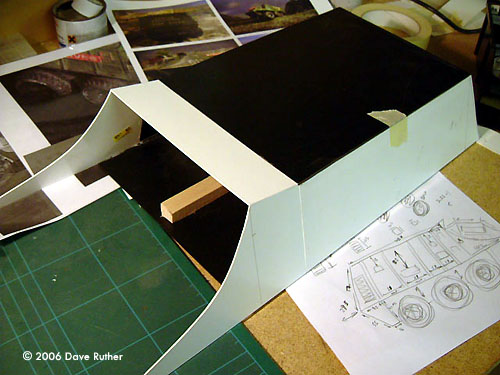
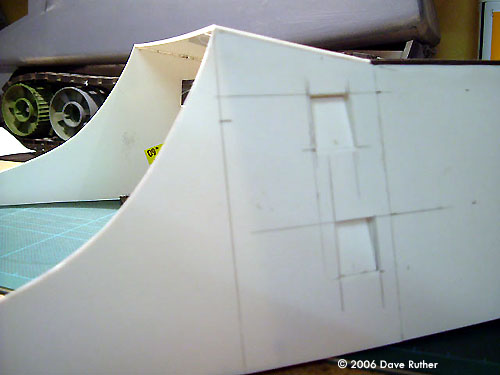
Image: The starting point: one Johnny Express wheel Image: Master part Image: Castings Image: Castings without backs Image: Front and rear wheel halves Image: A simple jig ensures uniform width Image: Basic body shell Image: Basic shell, setting up Image: Holes cut for inset detail... Image: ... and backed with more styrene. |
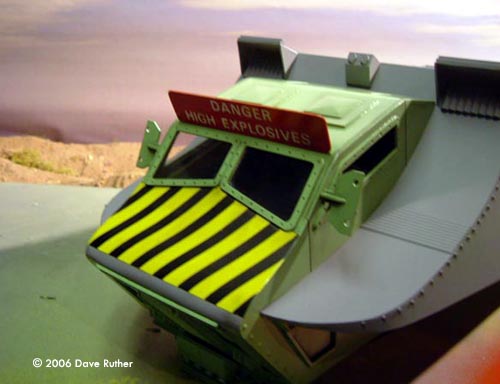
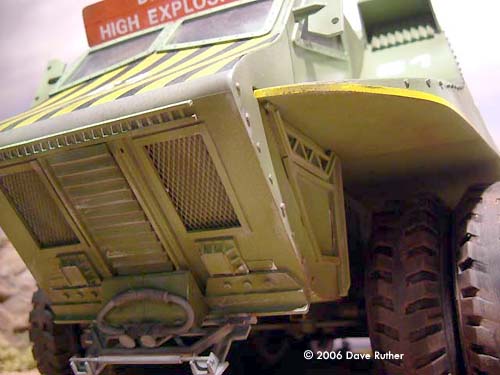
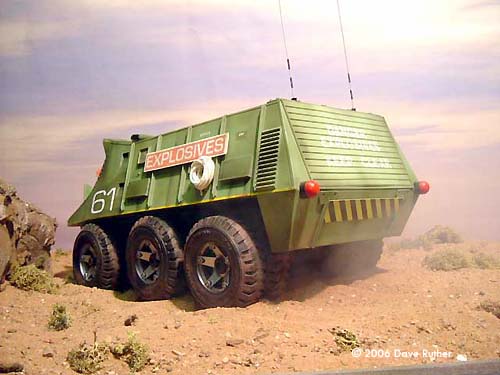
Construction A studio scale Explosives Truck had been on my "to do list" for ages and thanks to the power of eBay, I was able to begin the project. That was because I managed to track down a Johnny Express toy lorry. This is a huge toy that either turned up in Gerry Anderson shows as was, or its wheels donated to a host of vehicles throughout the various series. The same wheels were used on the Explosives Truck. However… …The wheels on the Explosives Truck were narrower and had different tread patterns! This resulted in my spending ages filling in the treads on one wheel, cutting in the new treads, splitting the wheel into two halves and then making rubber moulds of each half. Then I had to cast up 12 of each half, in resin, to make the wheels. To make matters worse, the "spokes" on one half of the wheel recessed into the other half, so I had to back this detail with P38 filler and leave a large hole in the back half to accept this part! Although, I only did this to the 6 outer most wheels, as you cannot see this detail on the inner wheels. The back of the wheels was sanded down to remove any excess resin. I made a simple jig to ensure the thickness of the wheels remained the same. The wheel halves were sandwiched together using filler, which was trimmed and sanded. The body of the truck was made from Perspex and plastic sheet, reinforced with internal ribs. A staple diet of most Anderson models is the Airfix Girder Bridge and Footbridge kit parts and the truck is no exception as it is literally covered with bits from them, coupled this time with the Airfix Signal Gantry. The small 'vents' were cut out and backed with plastic sheet. Panel pins were used for the rivets, fitted into pre-drilled holes. A detailed interior was built for the cab, along with driver. The cab was built separately, then glued onto the main body. The model was sprayed with green automotive paints - after 3 attempts to get the right colour, because the TV model looks quite dark, however if you paint it dark and then weather it, it turns out just too dark. Therefore, I sprayed it quite a light green and then darkened it down by heavy weathering. Panel lines were drawn on with a biro. The lettering was done with Letraset rub down transfers, apart from the 61 markings, which were cut from paper and simply glued on. The chassis was made from thick plastic sheet and detailed with kit parts - although you don't see this part in the show, so I improvised considerably! The wheels were mounted onto brass tube axels. I decided to build a working steering unit from brass tube and box section, so that the front wheels can be positioned thus making the model a bit less "static". Foam was used to give the model a nice cushioned suspension. Job done! |

|
Image: Under the 'nose' Image: Interior, as seen through the front windows |
Image: Another look Image: Left/rear view |
Image: Rear view |
![]()
This page copyright © 2006 Starship Modeler™. First posted on 2 October 2006.
![[Please click to enlarge]](dr_truck_truck1.jpg)
![[Please click to enlarge]](dr_truck_fillersandwich.jpg)
![[Please click to enlarge]](dr_truck_body5.jpg)
![[Please click to enlarge]](dr_truck_truck8.jpg)
![[Please click to enlarge]](dr_truck_truck5.jpg)
![[Please click to enlarge]](dr_truck_truck6.jpg)