
By Jim O'Malley - images & text © 2006
|
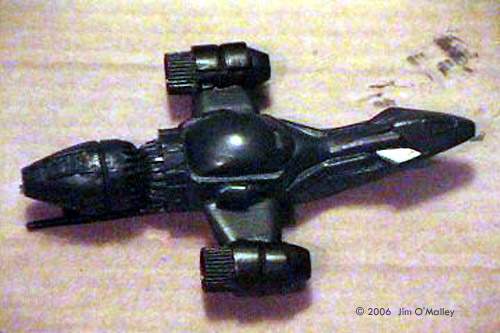
![[Please click to enlarge]](jm_firefly_012.jpg) Serenity is a Firefly Class freighter from the prematurely canceled "Firefly" TV show, which thankfully reappeared in the eponymously named movie: Serenity. It is a shame that the early demise of the series probably means that many of the props and CGI images will never make it into production models. |
|
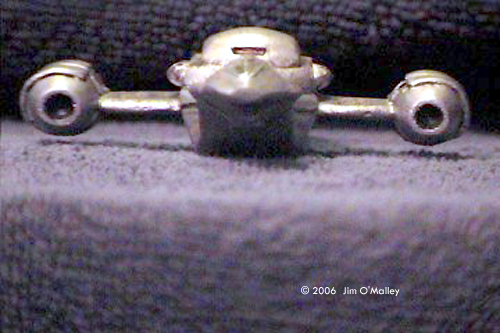
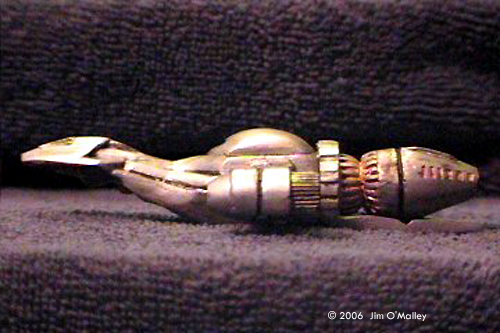
Image: Major components Image: Drilling out the atmo engines Image: Drive ring & skids Image: Ugh. Image: Main hull, cleaned up Image: Basic black Image: Silver Image: Engine effects bring the model to life ... and hide some flaws Image: Front view, completed model Image: Rear view Image: Port side Image: Starboard side Image: Front/left |
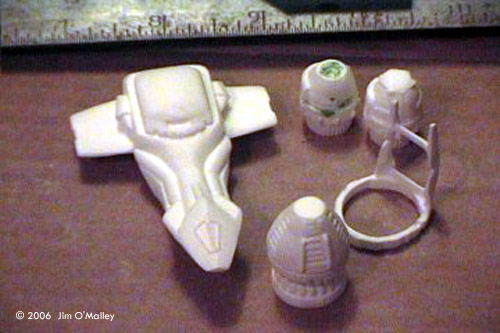
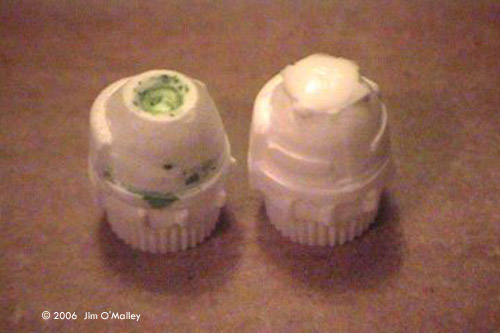
The show had many unique and interesting ships and weapons that would be great modeling subjects. It should be noted that this is the first model of any kind that I had built in nearly 40 years and my first resin kit, so I really did not know what to expect. I have read many reviews here on Starship Modeler and even ones that have received high marks often had comments about flash, voids, and parting lines, so I will let the images do the talking in that respect. I did know when I looked at the kit that I had a steep learning curve and a lot of work ahead of me. Because of my love for the subject, I plunged ahead and here are my results. For those of you who are similarly inclined, and similarly ignorant of proper techniques, please read the many fine articles on this site before proceeding. I was guessing at many stages, some guesses work out, others didn't. I will try to point out the mistakes so others won't duplicate them. I received a small box in the mail about 10 days after placing my order. The model arrived in a small plastic bag packed in foam 'peanuts', adequate, I think, for a model this size. I did not think the detail matched the screen images at first (all CGI in the TV series) but a careful review of the images from the DVDs showed that it was a pretty reasonable rendition in most areas. For reference all images from the "Special Features: Serenity the 10th Crewmember" section of the DVD set were used, but some of these seemed inconsistent with each other, especially with respect to the hull coloration. Building I used Polly S Plastic Prep according to label directions before doing anything else. Starting with the side engine pods I cleaned off the little mushroom cap of resin off the intake. I debated for a few minutes whether I would just paint the intake or whether I wanted to drill it to add a little realism. I decided to give it a try: first I made a pilot hole with the tip of a needle file, followed that with a 9/64 inch drill bit. I chose this size partly because it fit and partly because I had a brand new one, clean and sharp. I just rolled the bit between my fingers and went very slowly, then used a needle file to feather it into a reasonable opening. The engine pods are particularly hard to get a handle on because they change configuration from atmosphere to space (the configuration provided is space) and they look a bit different in each mode. Compare the approach over the train in "The Train Job" to the space configuration and the length of the latter seems about 30% shorter. The rear of the exhaust also dilates and contracts (fully dilated provided). The forward section of the nacelle had two oval pads on the resin, but I could find no reference scenes. I wondered if they were for gluing alignment, but that didn't seem to work either, so I removed them with some 220 sandpaper. |
|
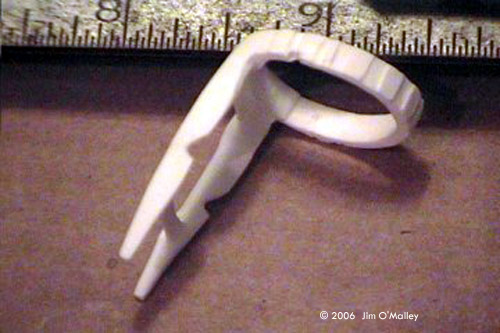
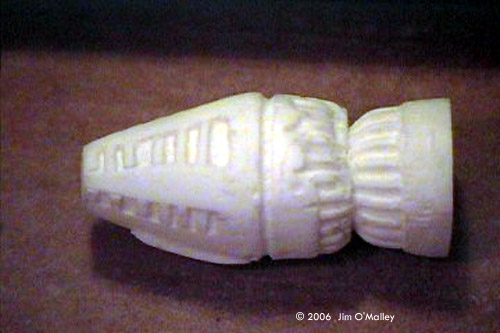
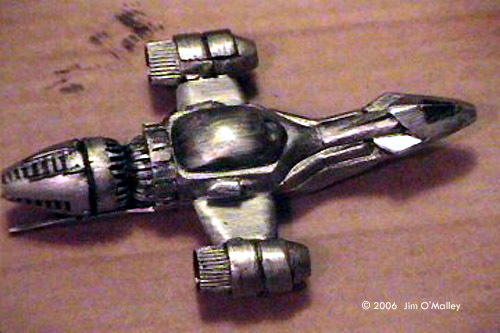
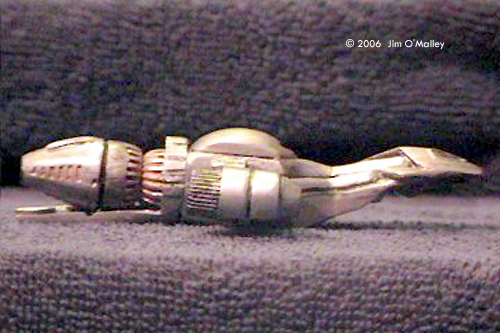
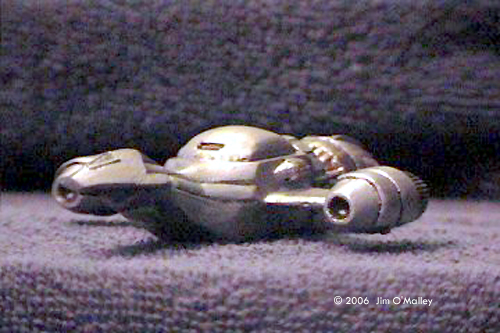
The pods required a bit more putty than I used, and I was disappointed to find I had missed many small bubbles, particularly where I reworked the intake. The ring for the space drive and the tail skids came as one piece, true to the screen images. I was nervous about the very thin section of the skids, and rightfully so: I snapped one! Cursing but undaunted, I used a tiny drop of Duro Super Glue (cyanoacrylate) to fix it up. I wasn't sure if it would take paint without showing, but it blended right in later. By far the most troublesome piece for a novice (and I suspect anyone else) was the wasp-waisted drive engine section. The section had many voids in the ribbed section, which is too bad, because the ribs could have been made considerably less deep, and omitted from the forward section altogether. The result would have been more accurate and, I suspect, easier to cast. In addition it was about 1/8 inch too long, which at this scale was quite noticeable. I did my best with Squadron Green Putty, but the results weren't pretty. The cargo area and nose were much better, though I didn't notice the bubbles on the leading edge of the 'wings' until the primer coat was going on. Sigh. If the rest of the model had kept to this level of detail, with perhaps decals to add some interest, the model as a whole would have been much better, in my opinion. There were some outsized ribs under the forward window of the galley (about 5 times too large for scale) but these were easily removed with a file. At this point I made my first real novice mistake, well that I noticed anyway. I glued the model together. I should have waited until most of the painting was done, but you live and learn. Plunging on I applied three coats of Oily Black rather than primer, so that the crevices would have some definition where it was exposed. At this point I realized I hadn't done nearly enough with the putty, and trying to sand and otherwise correct things was very difficult with it glued together. Painting & Finishing After becoming fed up with trying to fix things I applied a coat of Stainless Steel. Finally thing were looking up. The Oily Black showed through the Stainless enough to let me know that it would at least look like a battered old freighter in most places. But the aft drive section was still a problem; everything I tried seemed to accentuate the casting defects that remained. I decided to try making it look like the engine was building to a maximum burn by putting Orange and Yellow Reefer in the appropriate locations, then going back and touching up the ribs with SS. This actually succeeded in camouflaging the problems better than I expected, hooray! Well, I thought this is as good as I can get, so started on the final touch-ups. I used ASTF Silver to highlight most areas, and went back with extra Black where I got a little carried away. Hmm, too much Silver, this ship should be old, beaten up, and a little rusty. So I tried my hand at weathering using dry brush techniques I had read about. Black provided some dirt and a kiss of Orange here and there gave it a rusty tinge. Conclusions Overall, it doesn't hold a candle to what I usually see on this site, but its mine, and I suspect it will always have a place on my shelf. Now I have been bitten by the modeling bug, and I have all these leftover supplies. Hmm, I wonder how hard it would be to scratch build a larger Serenity... |
![]()
This page copyright © 2006 Starship Modeler™. First posted on 19 January 2006.
![[What you get]](jm_firefly_01.jpg)
![[Please click to enlarge]](jm_firefly_07.jpg)
![[Please click to enlarge]](jm_firefly_010.jpg)