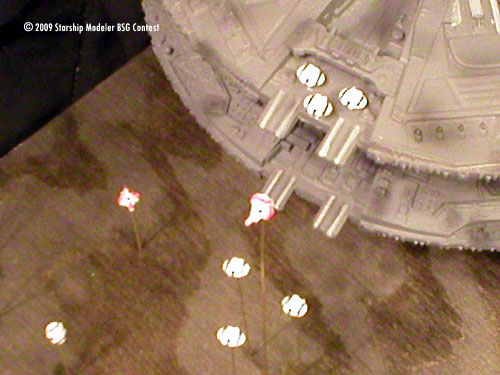
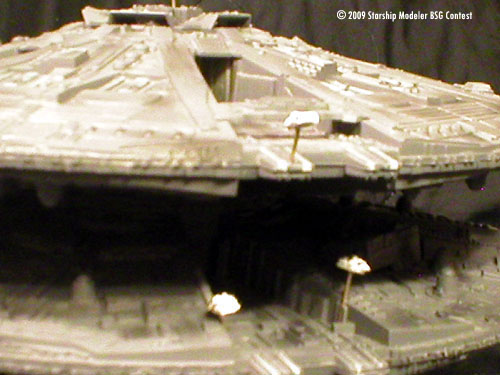
This scene depicts the moment just before Tyr and his wingmen attack the mega-pulsar cannon. Unknown to his men, Tyr had already realized that they would be unable to take the cannon in a single pass and once the Cylons realized what they were doing, they would be unlikely to get a second. Captain Tyr hit his turbo booster and went in guns blazing, ramming his Viper into the cannon and disabling it as his wingmen screamed for him to pull up. Ten minutes latter, the Battlestar Acropolis arrived and destroyed the damaged Basestar.
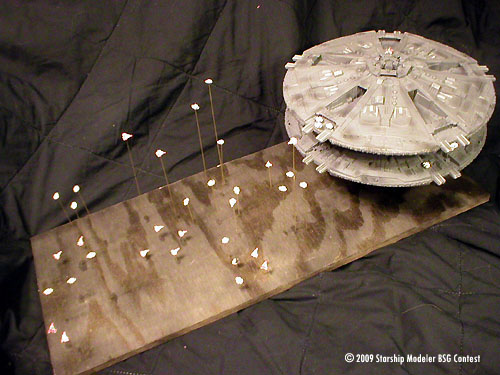
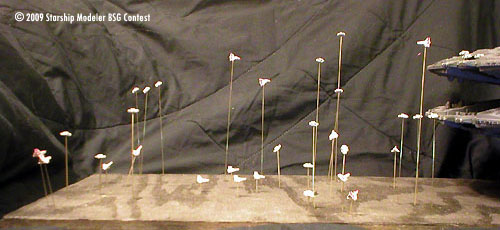
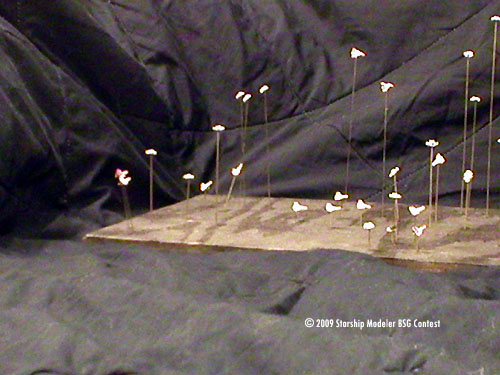
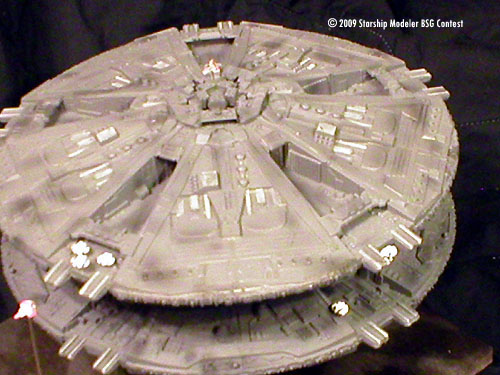
This diorama was built with the reissued Revell Basestar kit built stock and several sets of resin fighters purchased from Ravenstar Studios. The fighters were cast onto a resin hex base that had to be removed with some careful work with my dremmel. After they were cleaned, the fighters were then carefully painted and set aside while I cut the wood for the base and painted it black. The Basestar was secured to the wooden base with a short length of brass tube and the fighters were then placed with lengths of thin brass rods. Finally, I went back over the Basestar and fighters with a black pastel to dirty everything up a bit and give the impression of some damage.
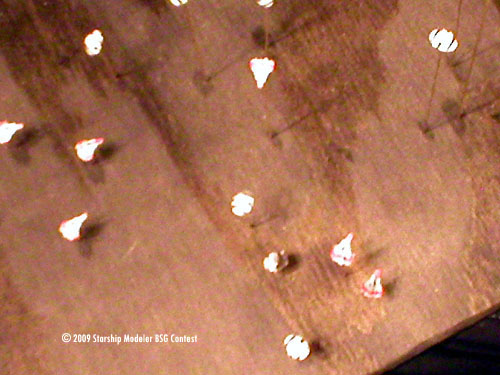
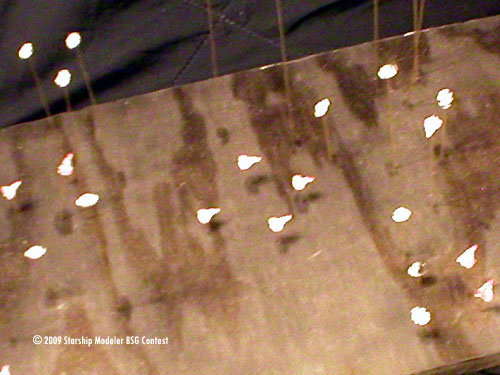
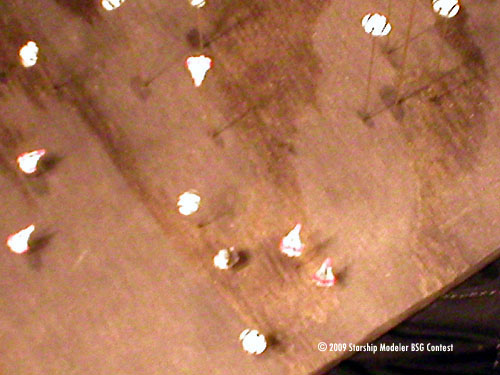
I went and looked at a lot of footage from the original series space battles to get a feel for how the fighters should be placed. The fighters all move mostly like they are operating in atmosphere. Kind of like when you watch the trench run in the original Star Wars. It is based on WW2 footage. Also, while the Colonials tend to stay in a familiar leader/wingman formation, the Cylons are always in groups of three fighters in a delta formation. Also, they are fighting with energy weapons and as such do not need to close in on each other much. There wasn't the crazy maneuvering fur-balls like in the new series. I wanted to keep that feel of the original show as much as I could.
Image: Around the side
Image: Damaged Raider
Image: Colonial diamond
Image: Dog fight
Image: Far side
Image: Over the top
Image: Raiders launching
![[Starship Modeler's 17th on-line modeling contest: Battlestar Galactica]](bsgbanner.jpg)